
Journal 📝
Make a Tiny Hydrangea Hanachozu in Your Planner
This article contains affiliate links. I may receive a small commission at no extra cost to you.
Hello, I'm omochi, a stamp artist in Japan.
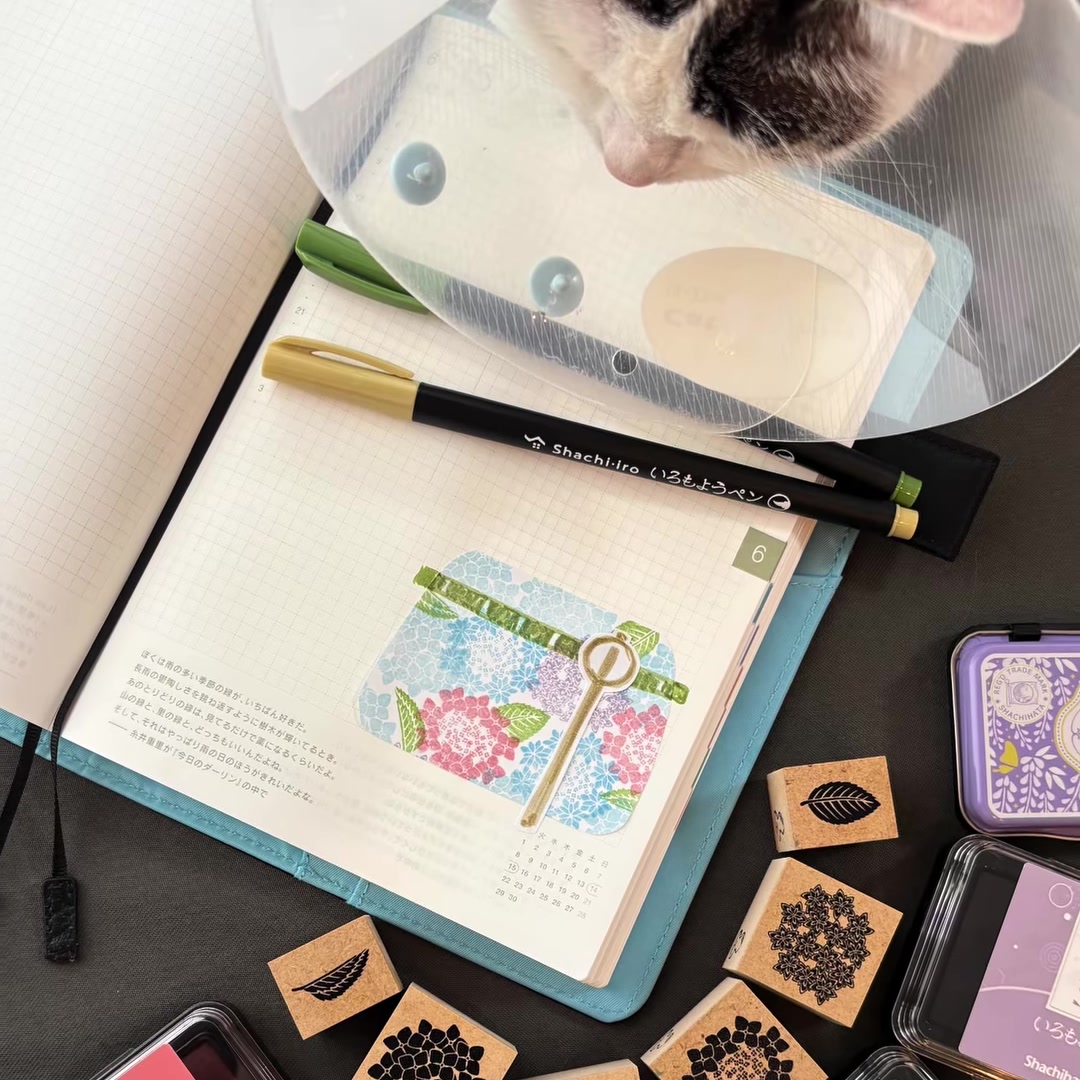
In early summer, temple courtyards in Japan often fill with hydrangeas. Some also decorate a stone water basin with floating flowers, creating a seasonal display called hanachozu. I wanted to bring that quiet, rain-washed scene into my planner, using one full-adhesive sticky note as a tiny canvas.
Materials
What you will need
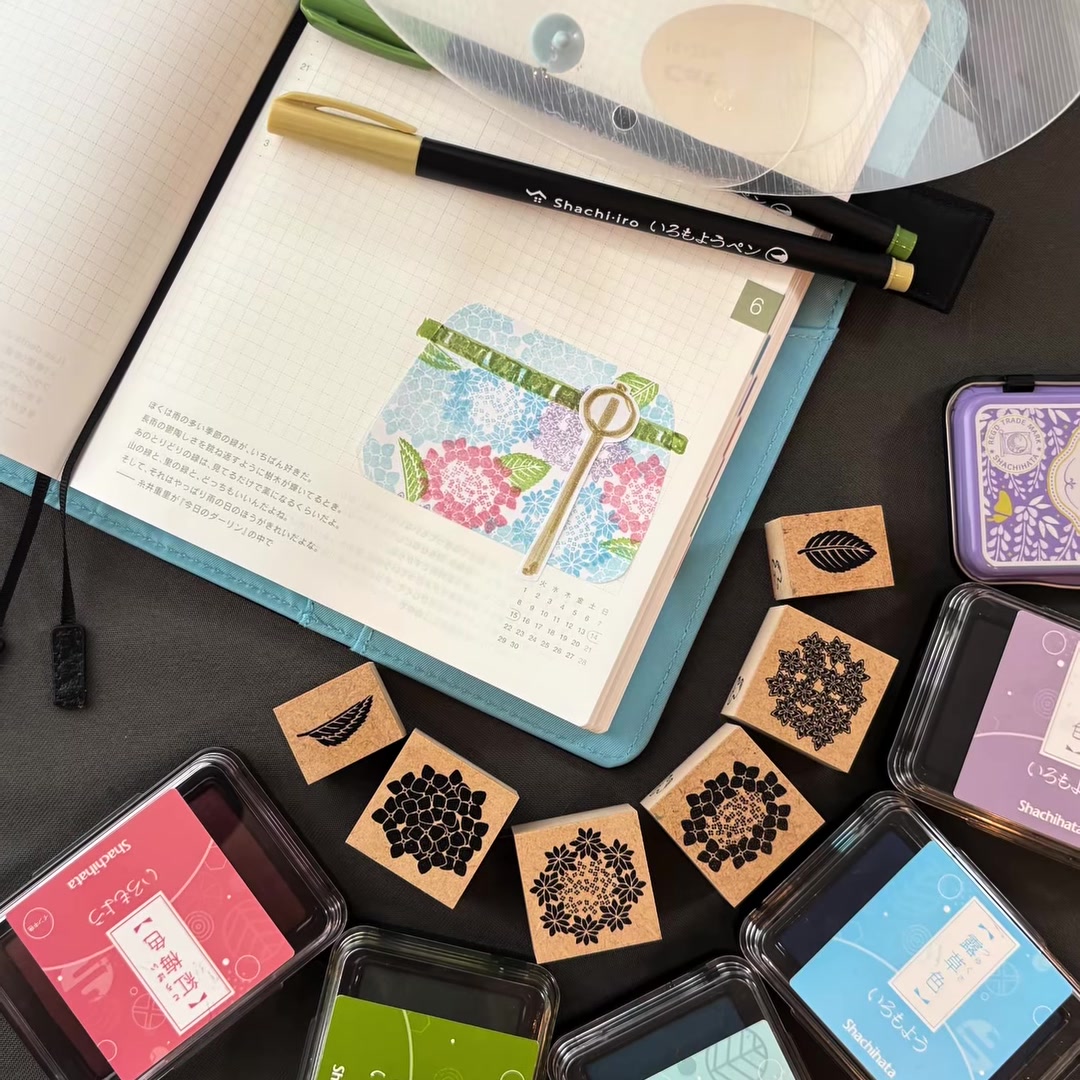
- Hydrangea and leaf rubber stamps
- Several Iromoyou ink pads — pink, blue, purple and green work beautifully
- A full-adhesive sticky note (mine is from Daiso in Japan)
- A green water-based marker or fine brush pen
- Scissors and a tiny paper ladle motif
You do not need the exact Daiso note or marker. Choose repositionable paper with adhesive across the whole back, plus a water-based green pen that will not bleed through your planner page.
How to
Five gentle steps
Stamp a field of hydrangeas
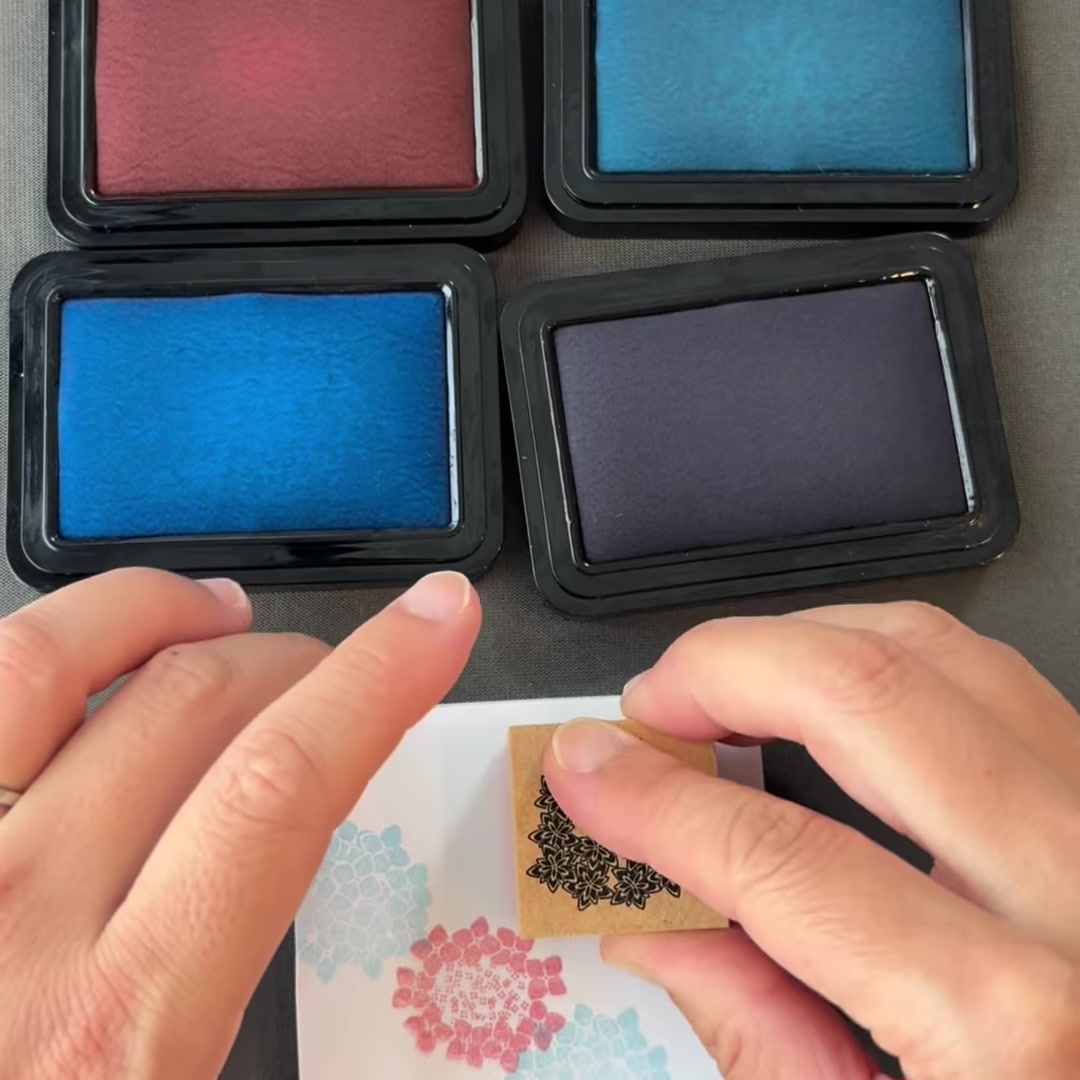
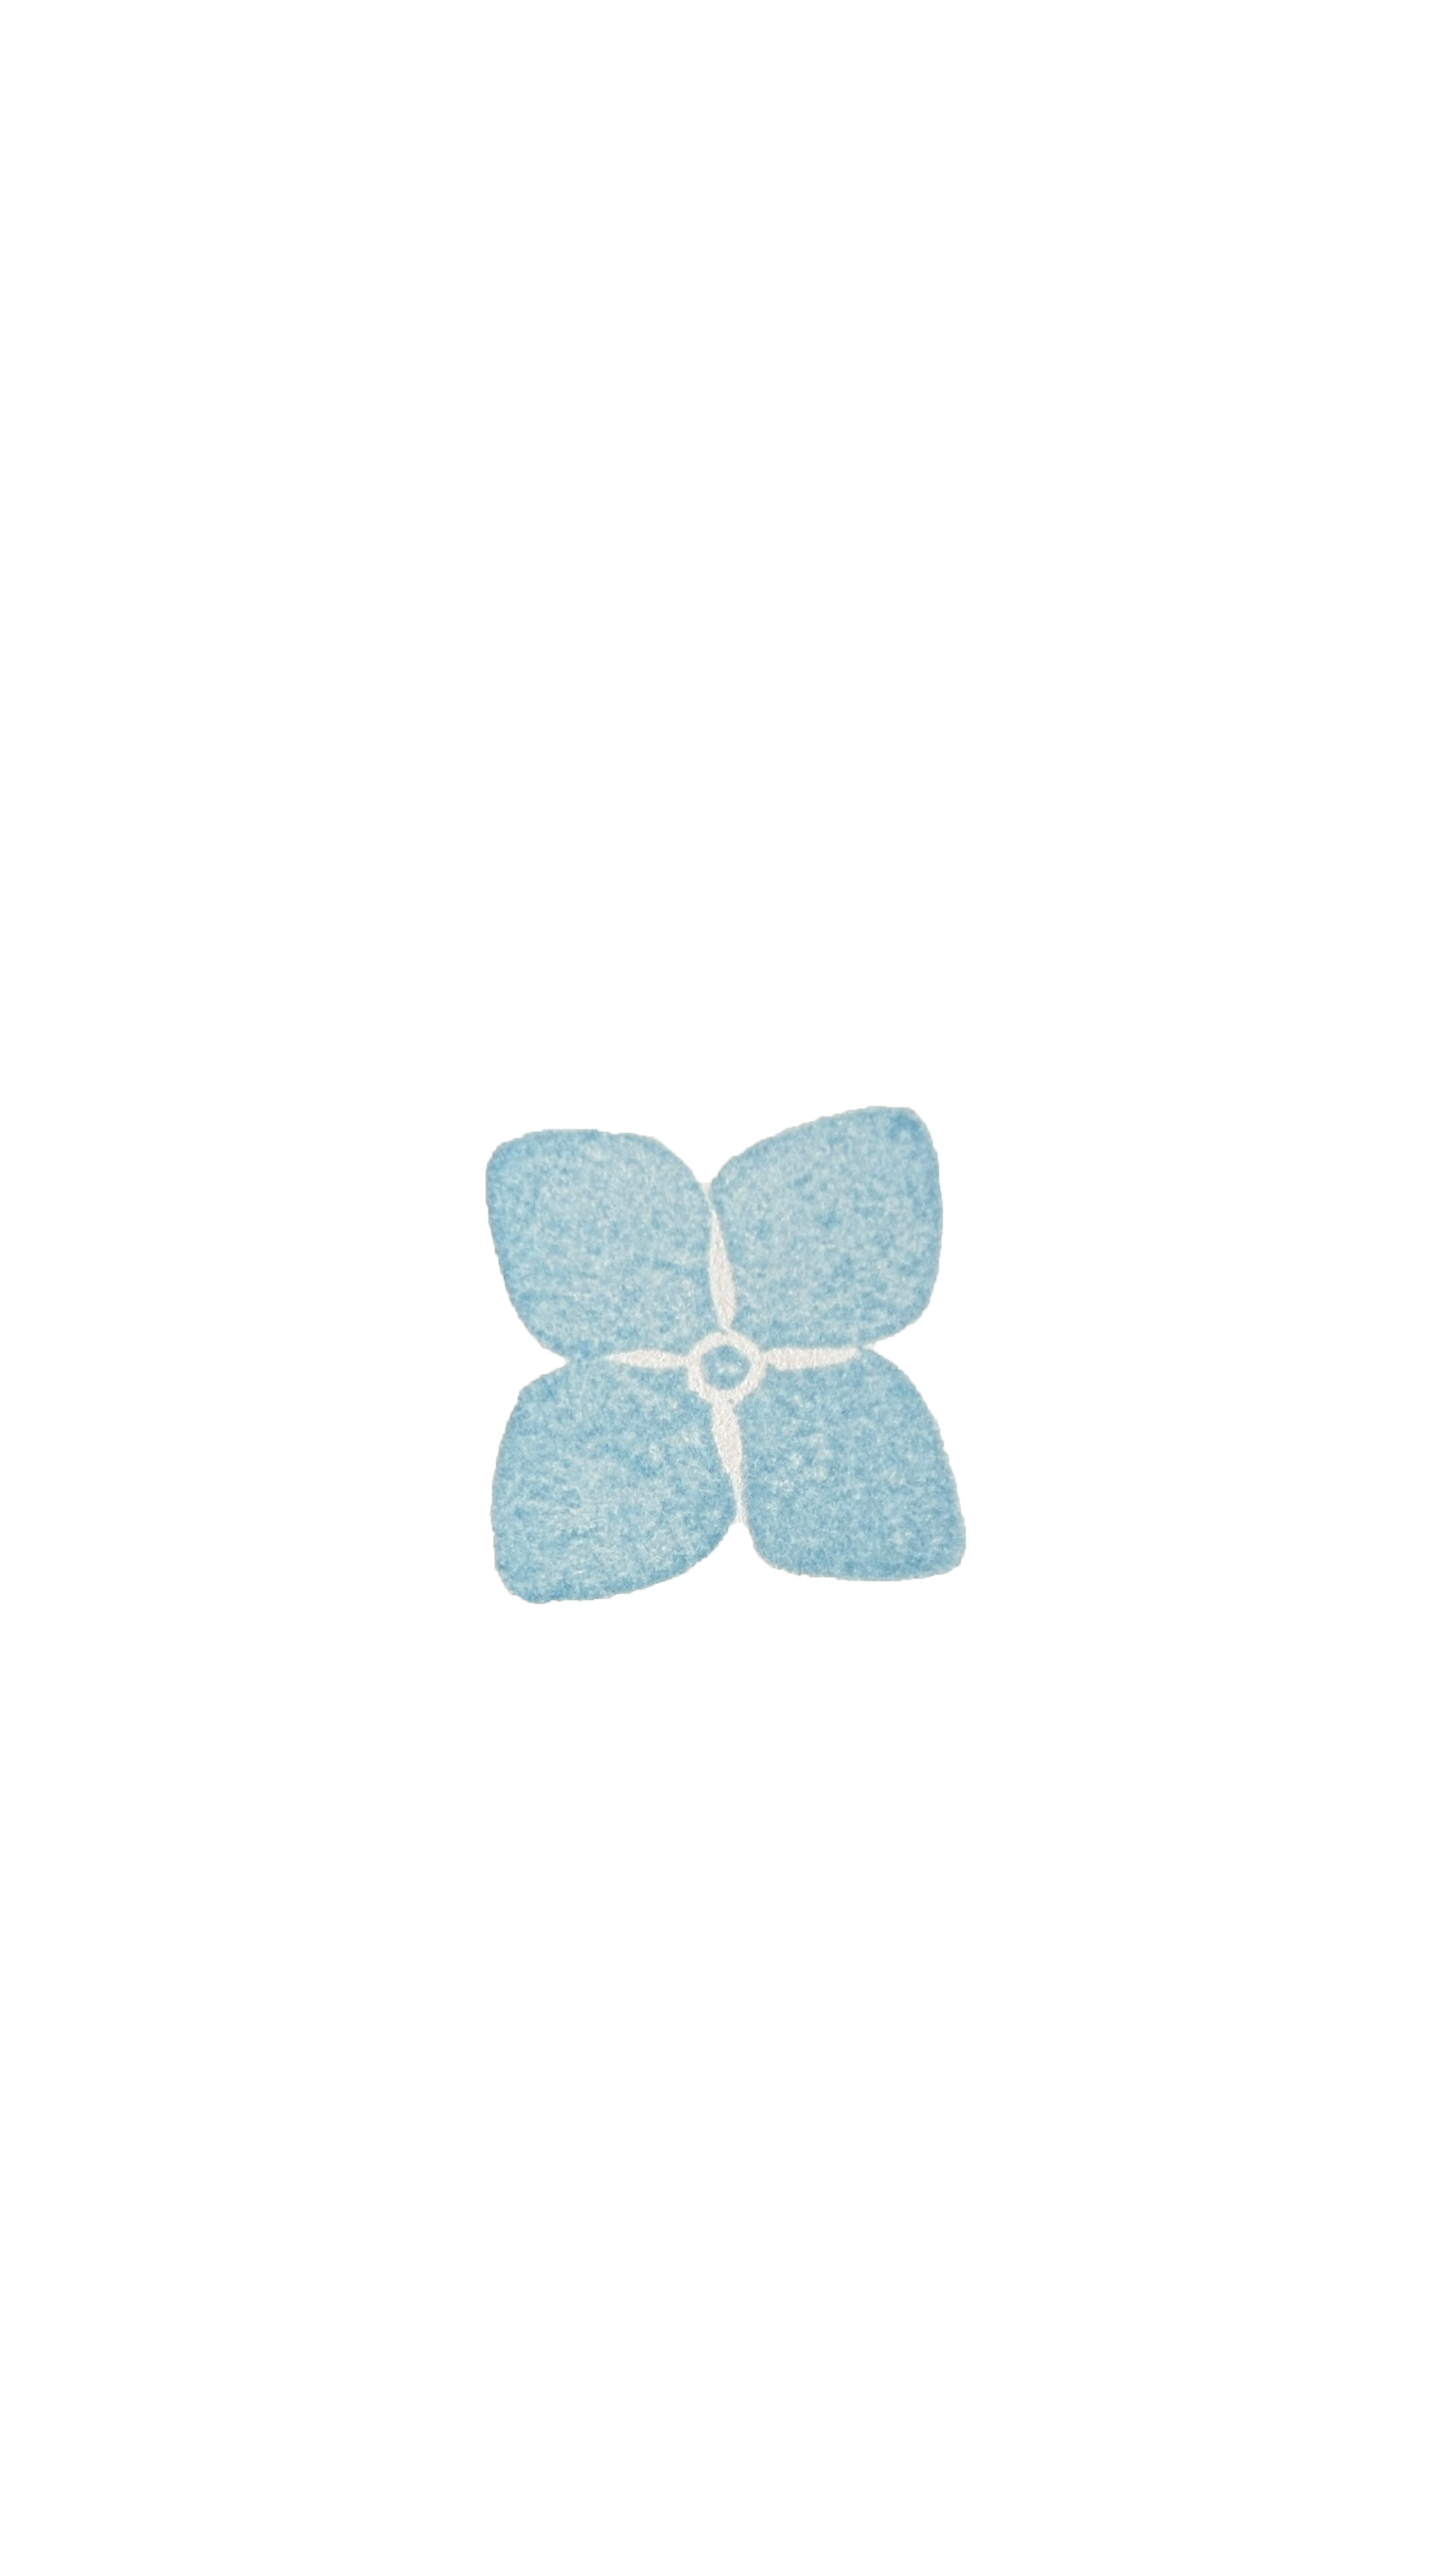
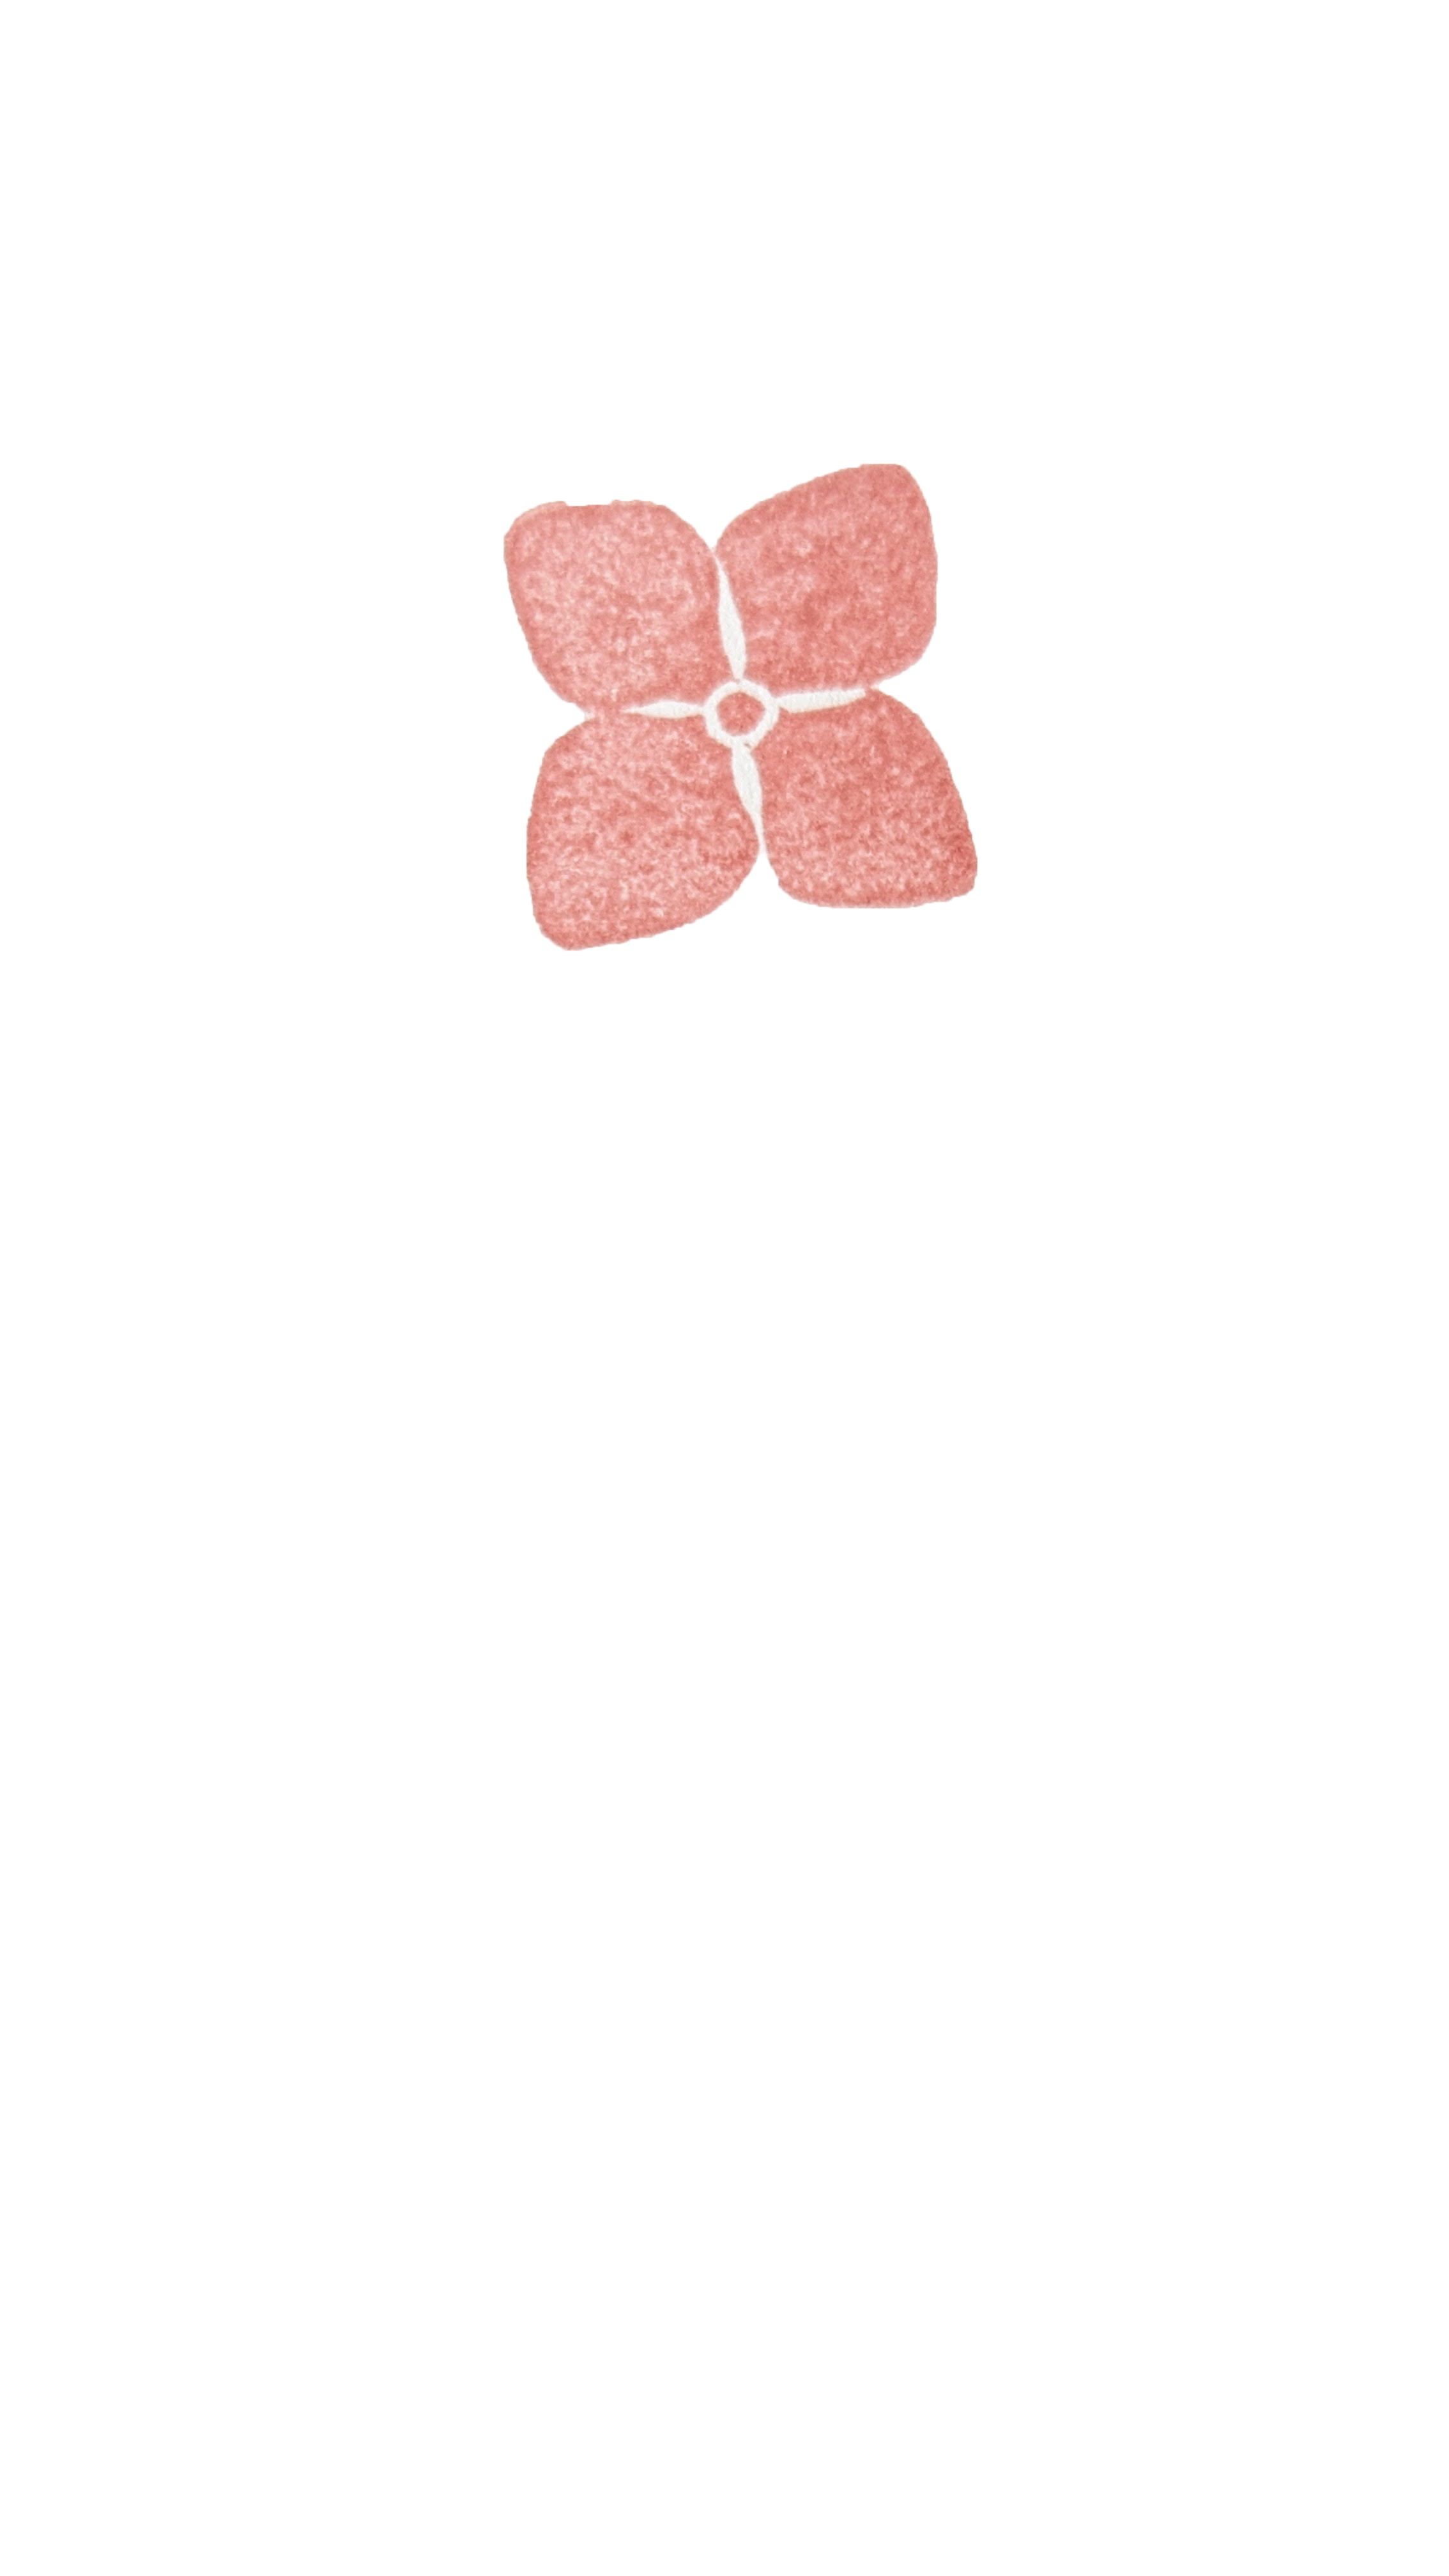
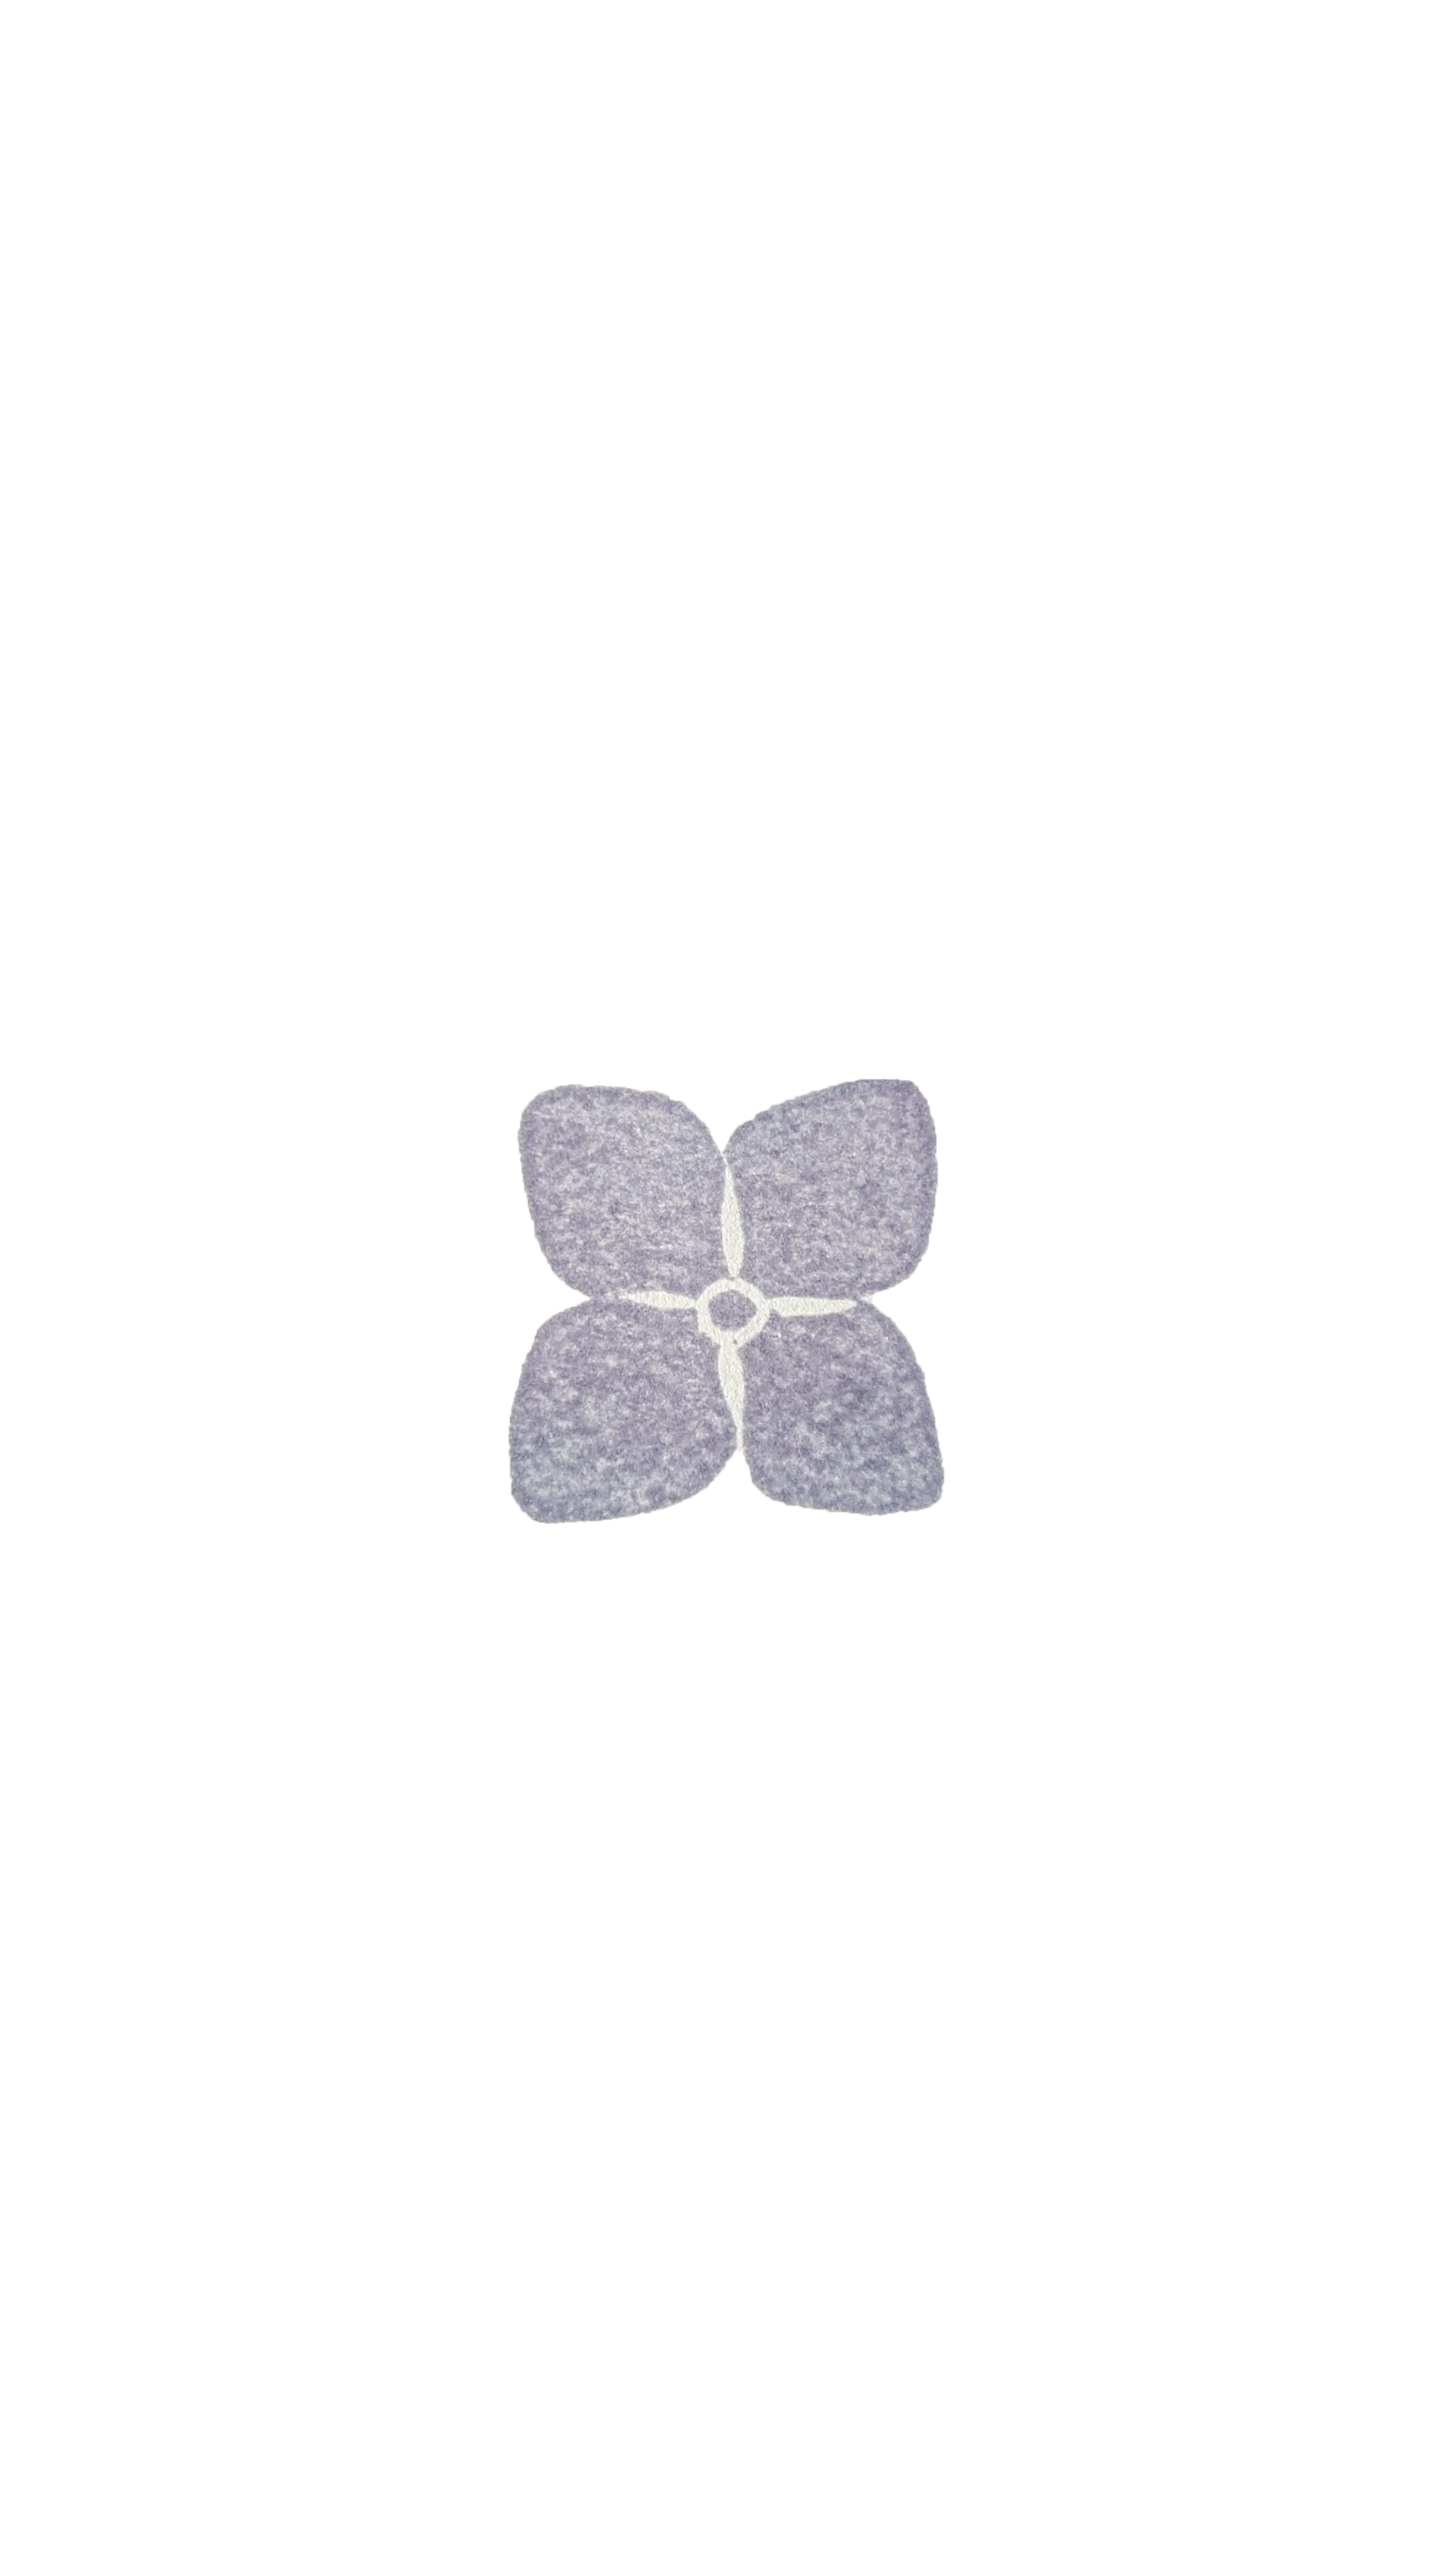
Fill the note with hydrangea impressions, turning the stamp a little each time. Let a few flowers overlap and scatter pink, blue and purple across the paper. The slight changes in angle and depth make the flowers feel as though they are floating on water.
Tuck leaves between the flowers
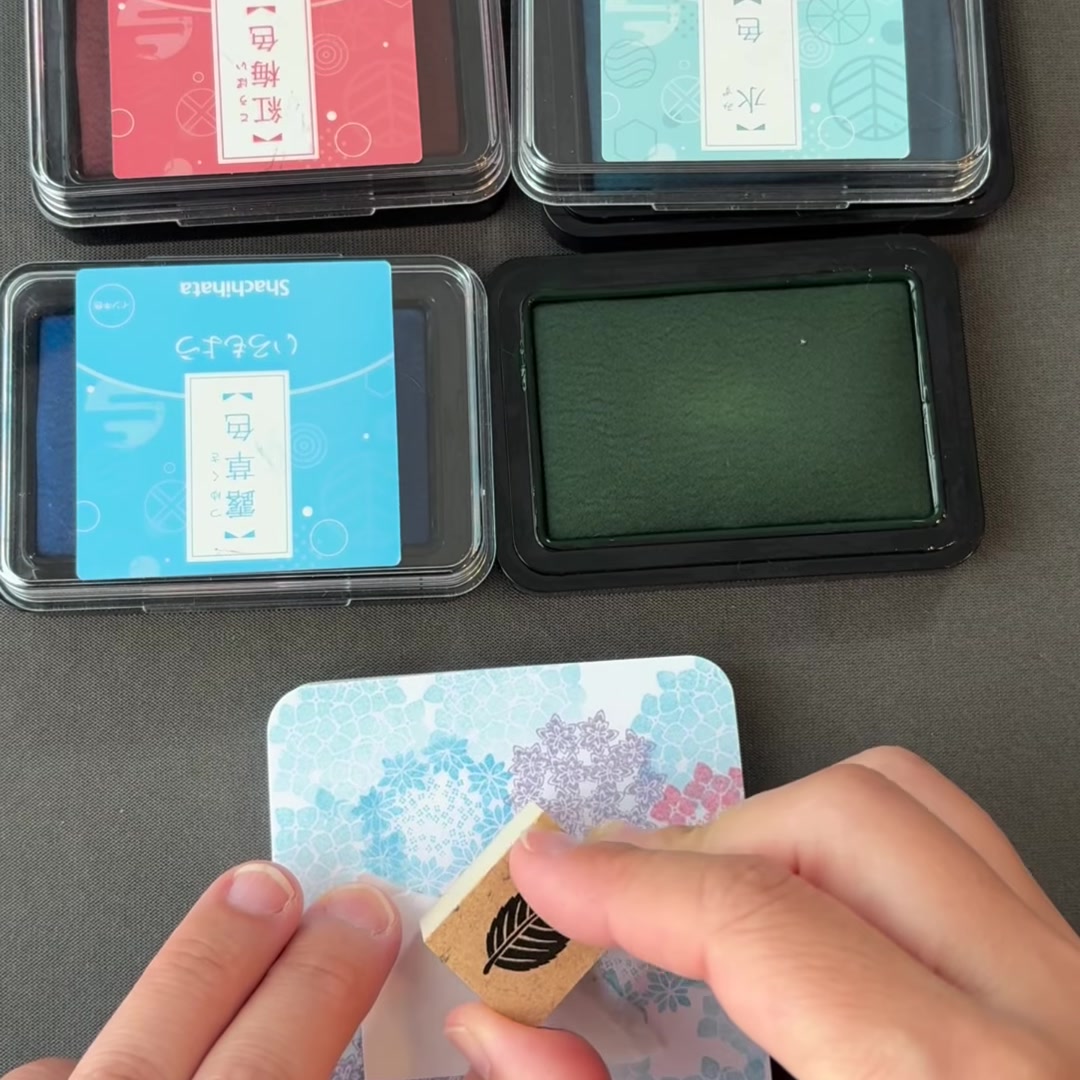
Add leaves wherever the flowers need a little breathing room. Tap the green ink lightly rather than covering every part of the stamp at once. That softer green settles into the floral colours instead of sitting heavily on top.
Peel, trim and place
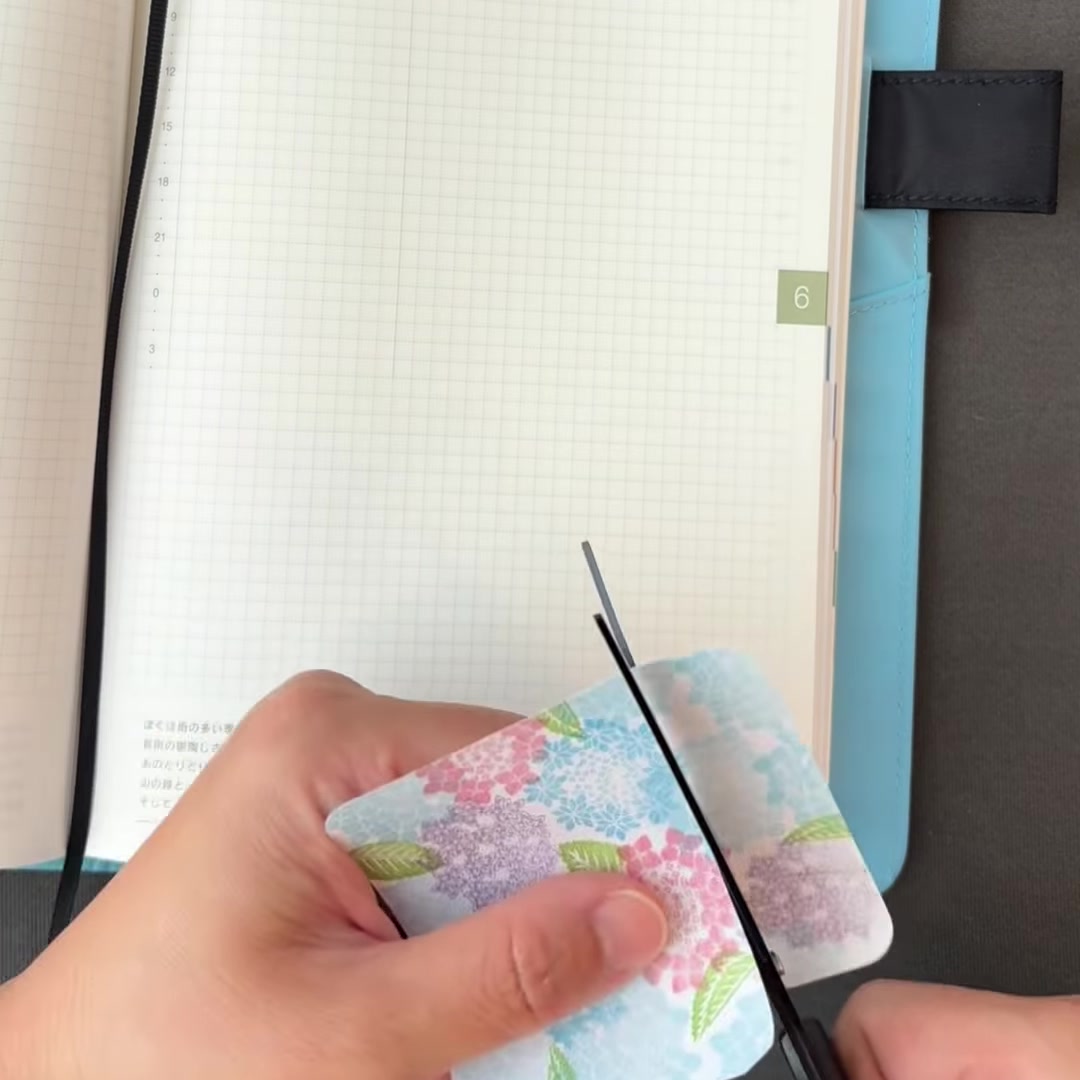
Peel the note from its backing and trim it into a gentle shape that follows the mass of flowers. It does not need to be perfectly symmetrical. Place the finished piece in your planner once the shape feels balanced.
Draw a simple bamboo rail
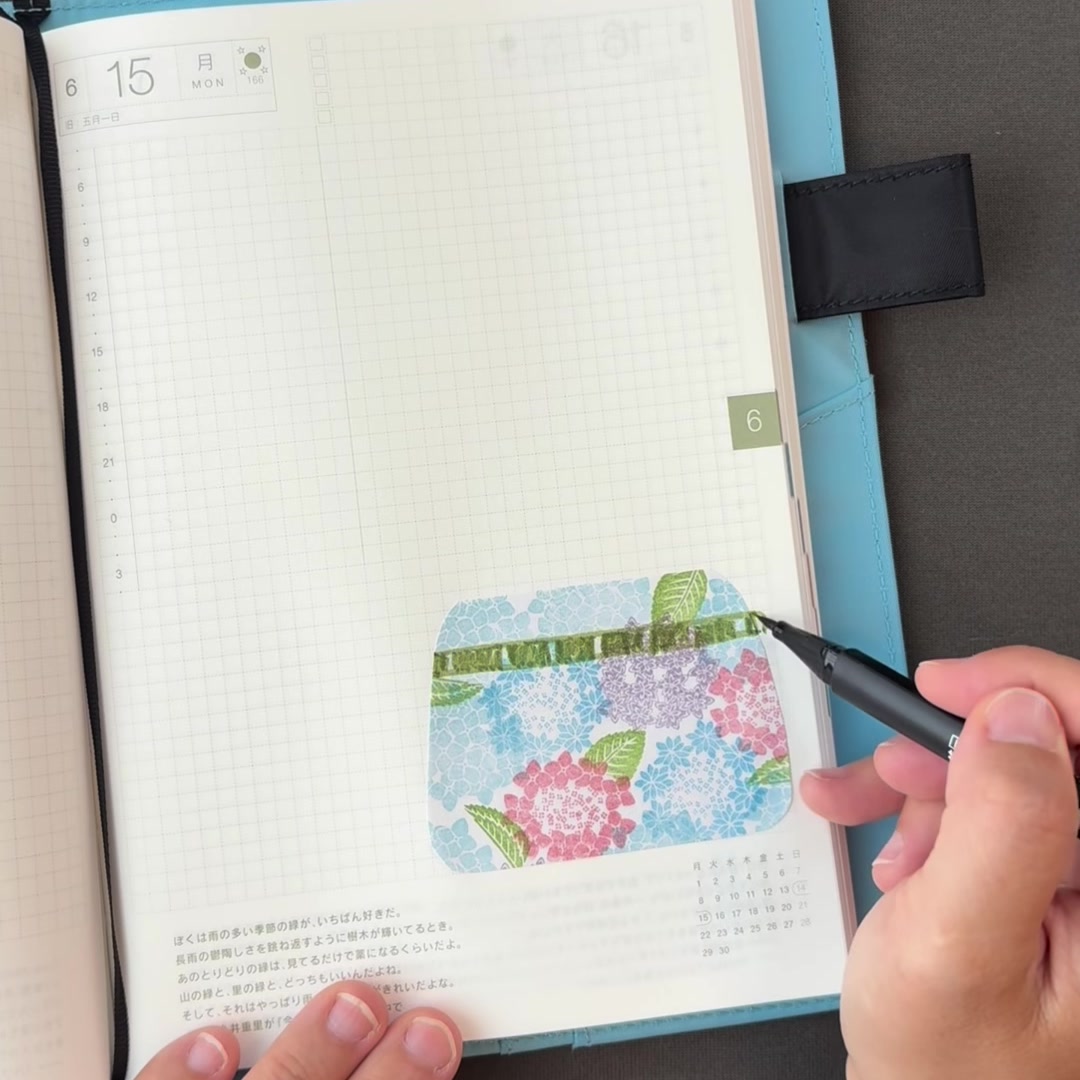
Draw two long green lines above the flowers, then add a few short joints. A second green shade can give the bamboo a little depth. A water-based marker or fine brush pen is a good substitute if Iromoyou markers are not available where you live.
Finish with a tiny ladle
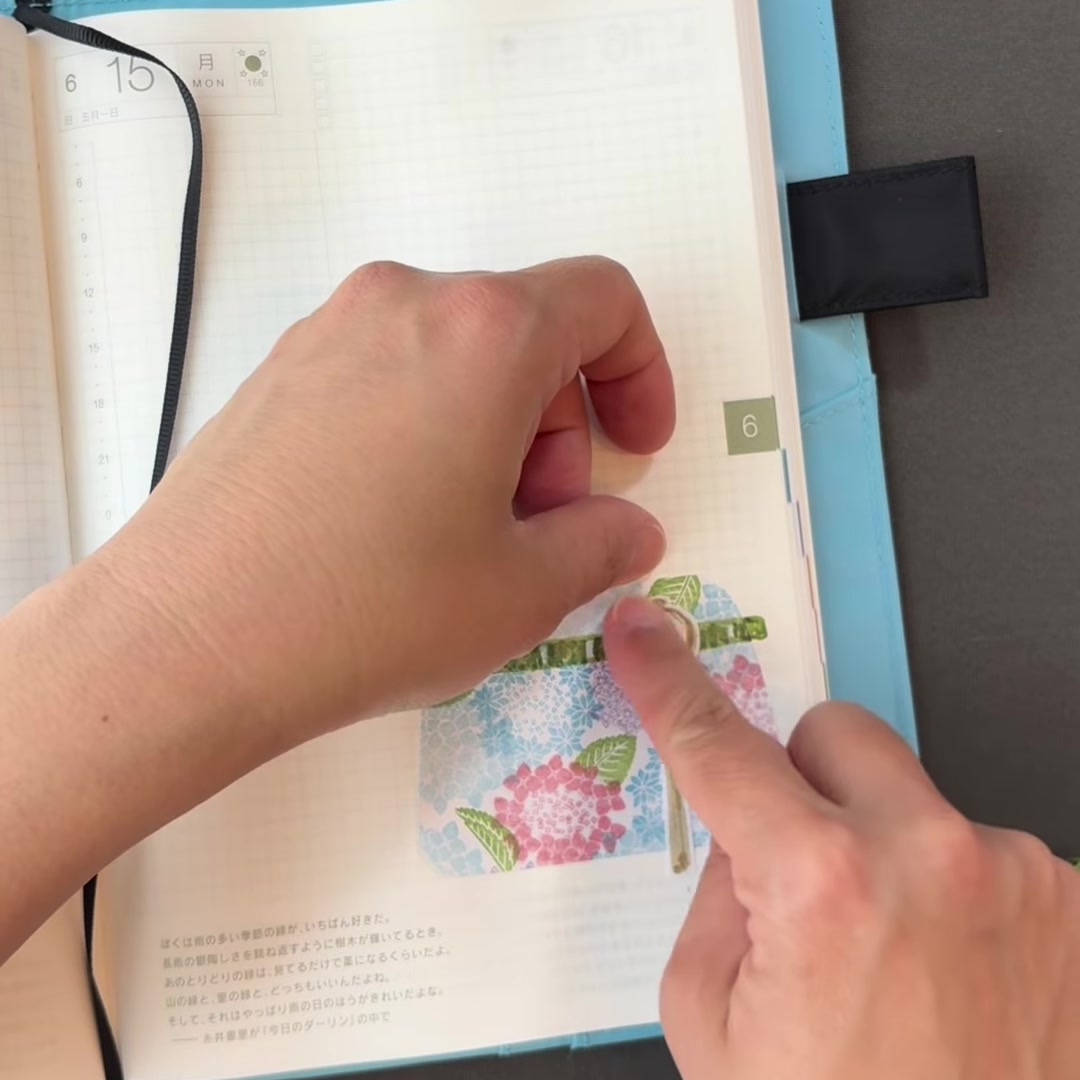
Place a small cut-out ladle over the bamboo. That one detail turns the colourful flowers into a recognisable hanachozu scene. If you do not have a ladle stamp, simply draw one on a scrap of paper and cut it out.
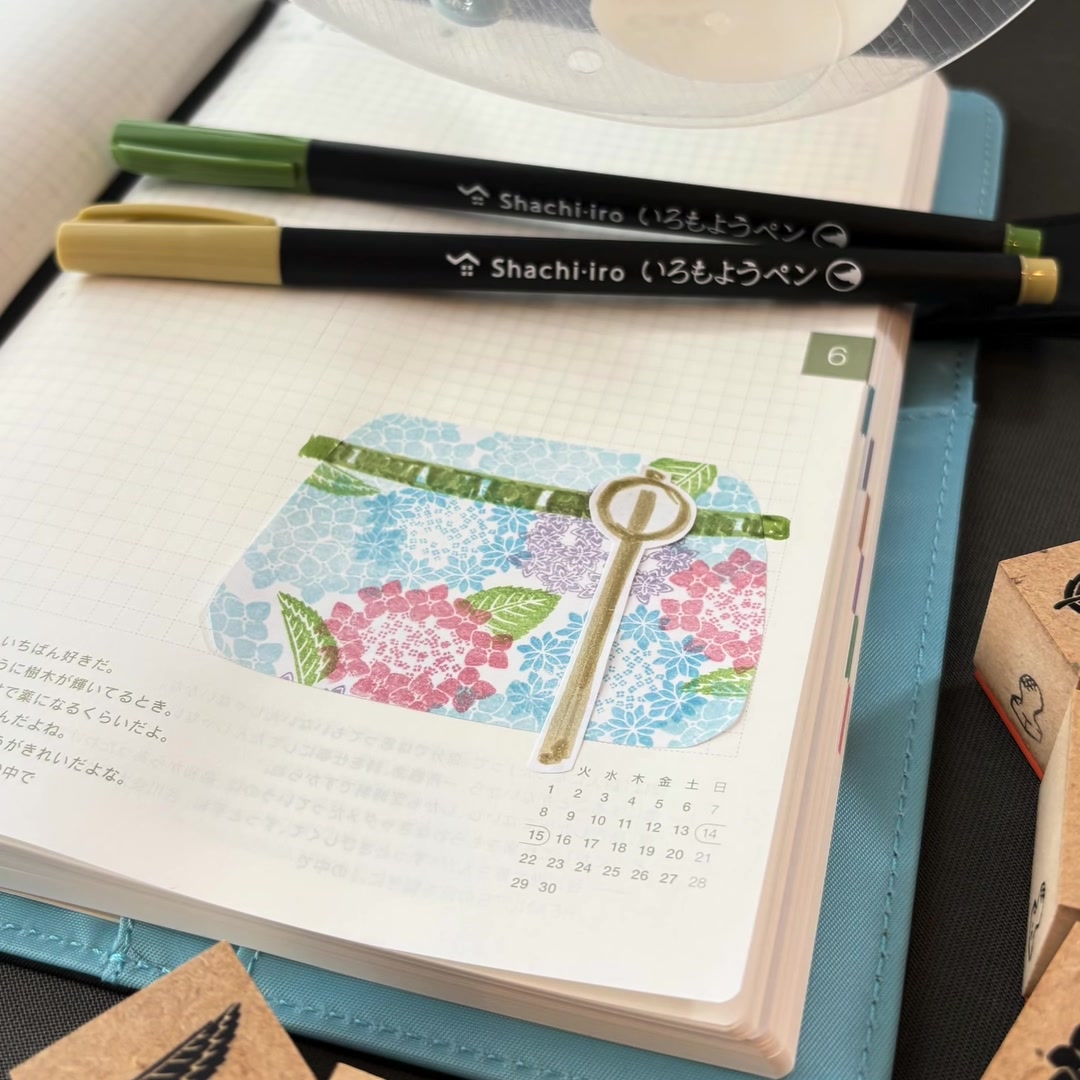
Choosing each stamp face and slowly building the colours is a quiet ritual for me. I hope this miniature hanachozu gives you a peaceful idea for your next planner session.
Shopping
Tools used in this project
Only tool links that offer international shipping are listed here. Availability can vary by colour and destination, so please check the shop page before ordering.
- Iromoyou Warabe ink pads (25 × 25 mm)29 colours; a small, easy size for trying one colour at a time.Amazon Japan →
- Iromoyou ink pads (63 × 40 mm)34 traditional Japanese colours; international availability differs by colour.Amazon Japan →
More notes on ink and international availability are in the Tools & Care guide.
Like the stamps used in this project? You can find the set below, with international checkout available through an official proxy service.
Related
You may also enjoy
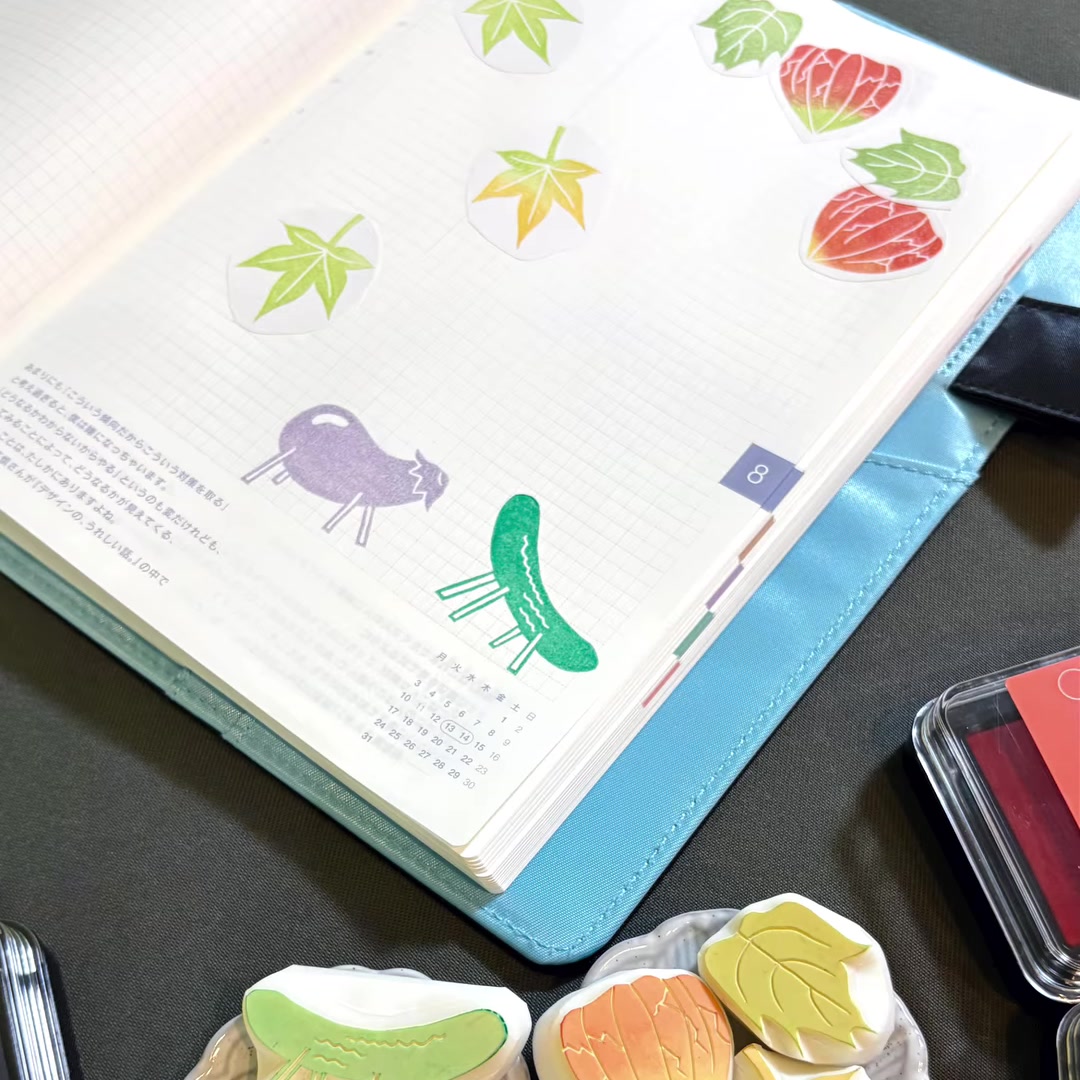
Hozuki Lanterns and Maple Leaves: Autumn Planner Stickers
Turn full-adhesive sticky notes into movable autumn planner stickers with hand-carved hozuki lantern and maple leaf stamps, layered ink and a pair of scissors.
Read the tutorial →
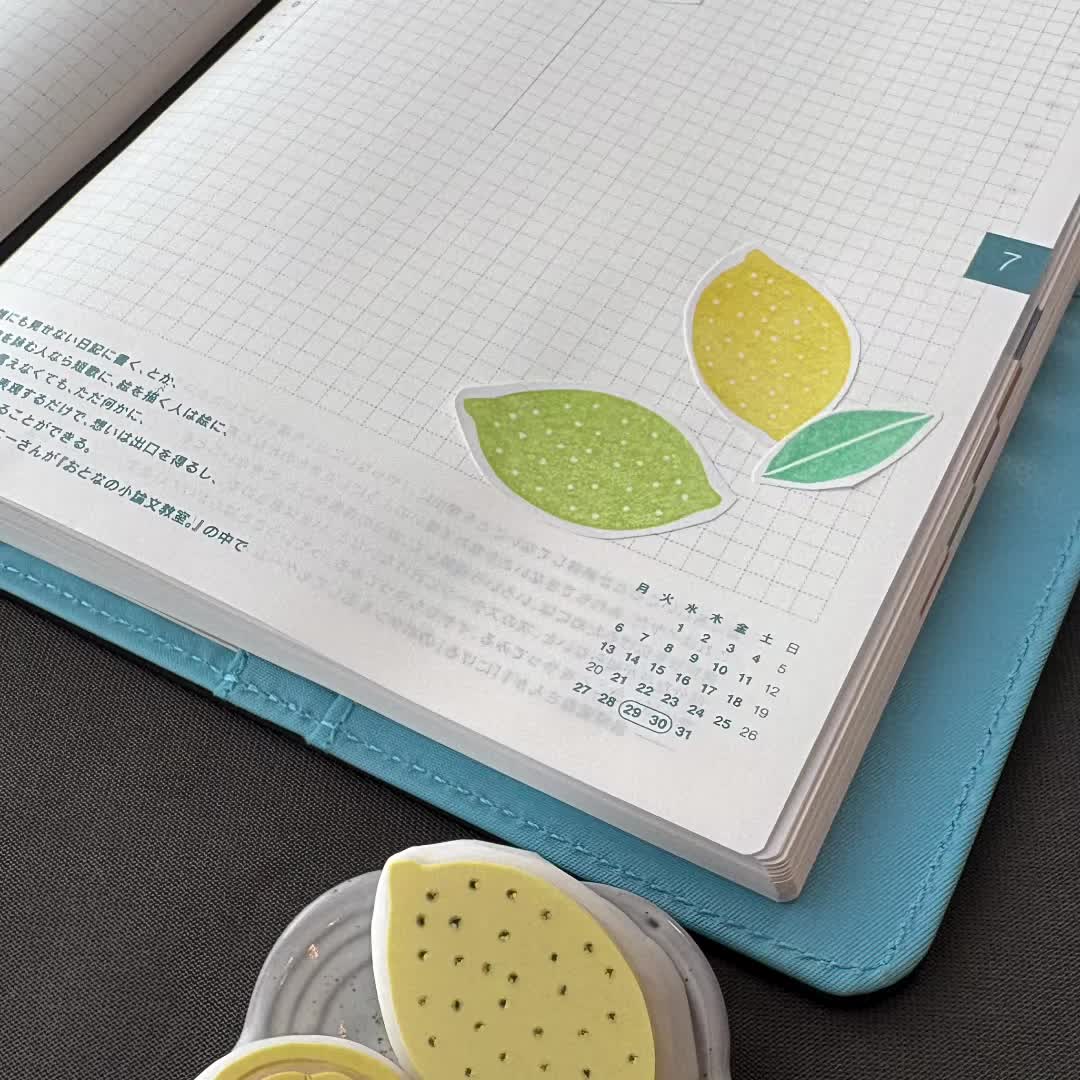
Make Lemon & Lime Planner Stickers with Sticky Notes
Stamp lemons, lime slices and leaves onto full-adhesive sticky notes, cut them out and turn them into bright summer planner stickers.
Read the tutorial →
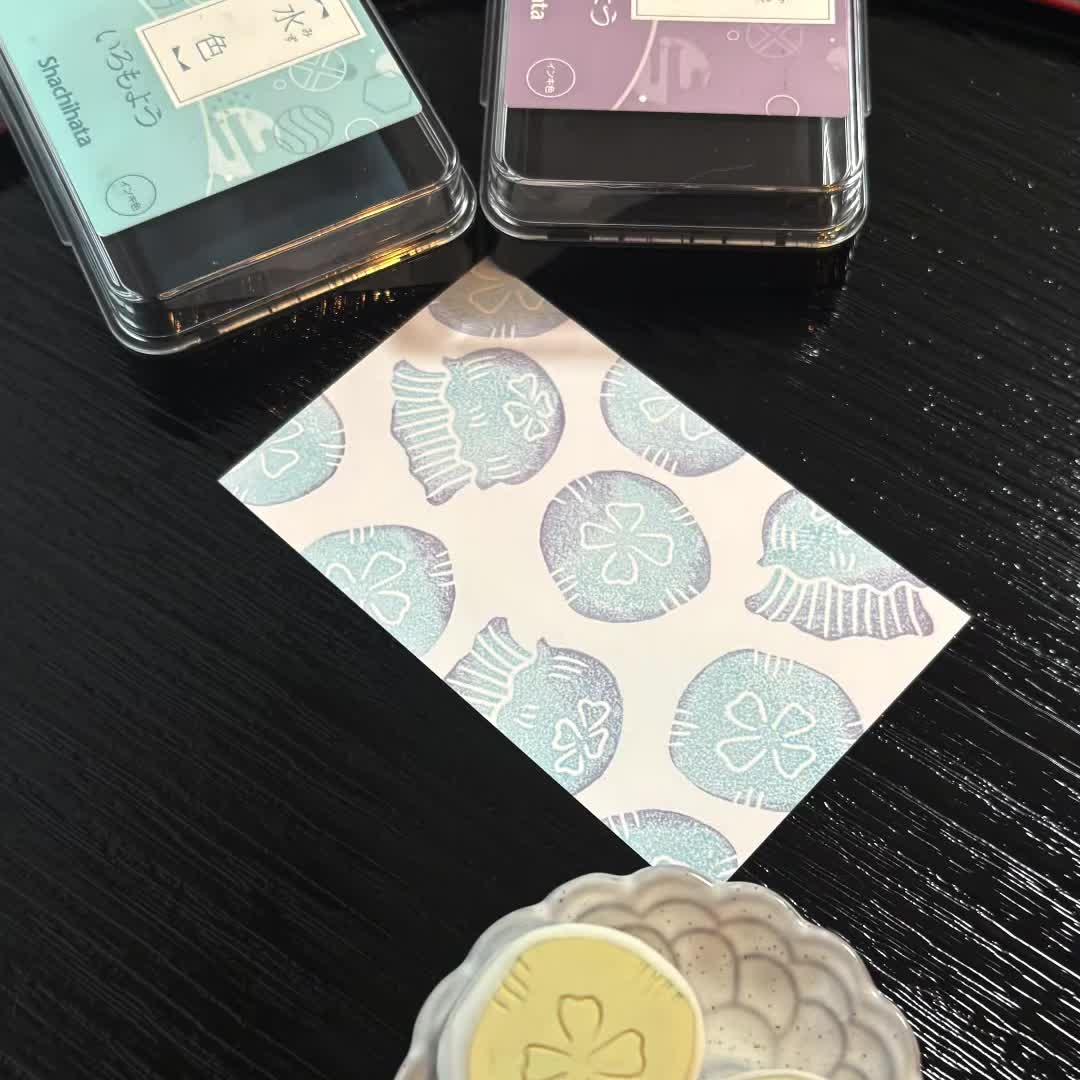
How to Stamp a Soft Two-Colour Moon Jellyfish Gradient
Layer pale blue and wisteria-purple Iromoyou inks on a moon jellyfish stamp for a cool, translucent gradient, then arrange it across a small card.
Read the tutorial →
Follow the everyday carving and stamping process on Instagram.