
Journal 📝
Hozuki Lanterns and Maple Leaves: Autumn Planner Stickers
This article contains affiliate links. I may receive a small commission at no extra cost to you.
Hello, I'm omochi, a hand-carved stamp artist in Japan.
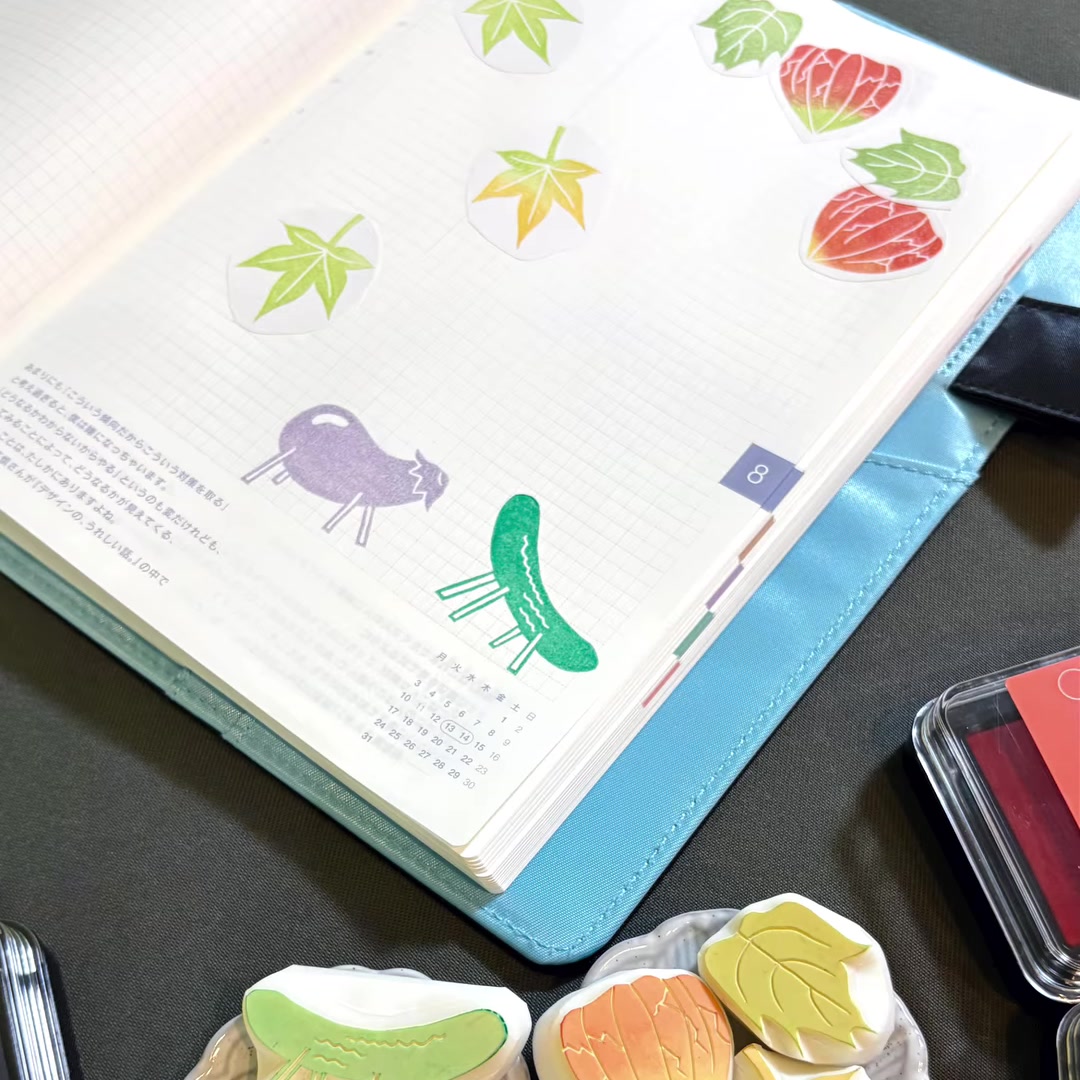
Stamping directly into a planner can feel a little nerve-racking. When I want the freedom to move things around first, I reach for rounded, full-adhesive sticky notes. For this page I chose two signs of the turning season: warm hozuki lanterns and maple leaves.
Materials
What you will need
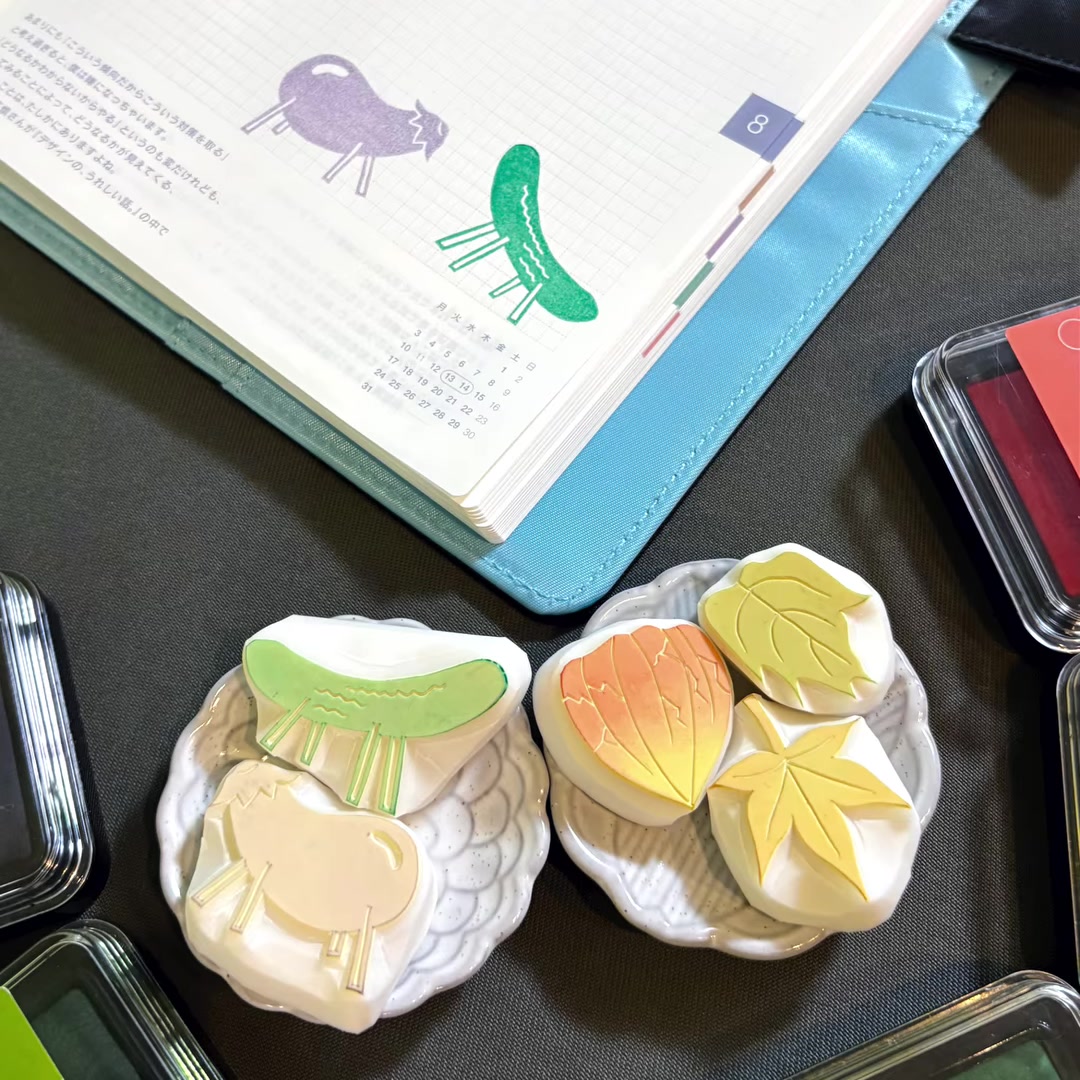
- Hozuki lantern and maple leaf eraser stamps
- Shachihata Iromoyou ink pads — a few warm and green shades
- Rounded full-adhesive sticky notes (mine are from Daiso in Japan)
- Scissors
You do not need the exact same sticky notes. Any repositionable paper with adhesive across the whole back will work.
How to
Four simple steps
Layer ink from light to dark
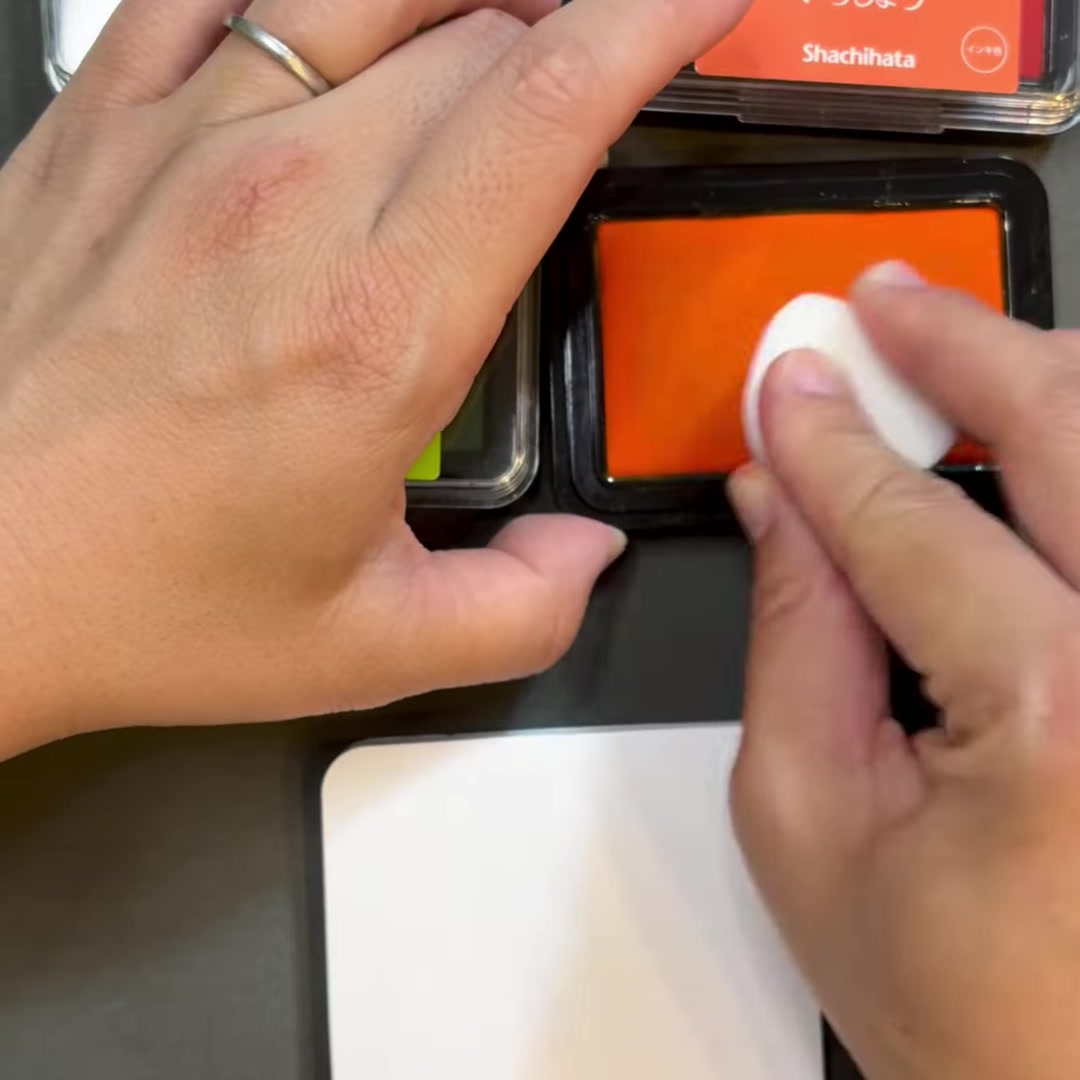
Cover the whole stamp with your lightest colour first. Then gently tap a darker shade onto just part of the design. Let the two colours overlap slightly instead of making a hard line; that soft overlap creates a natural gradient.
Stamp onto the sticky note
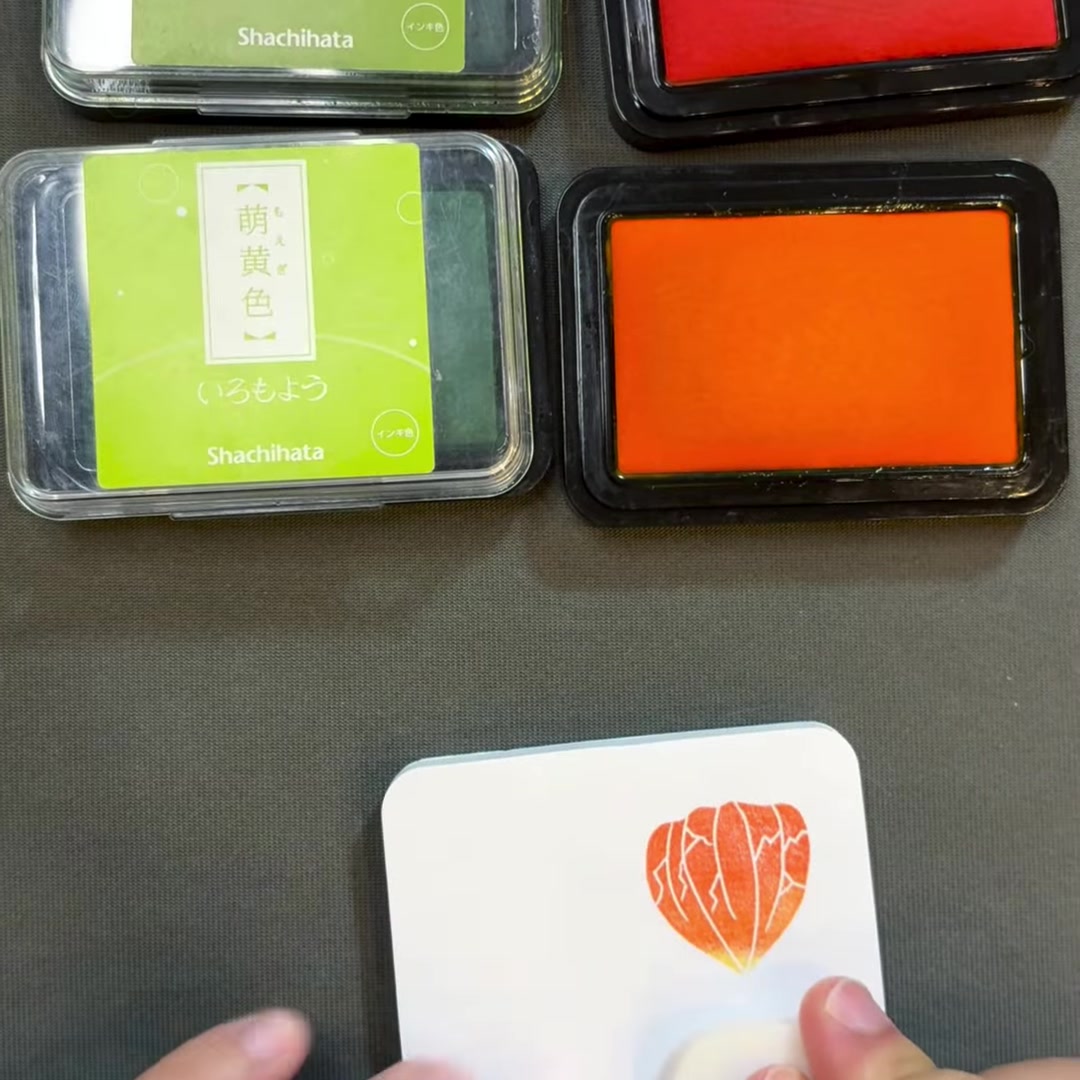
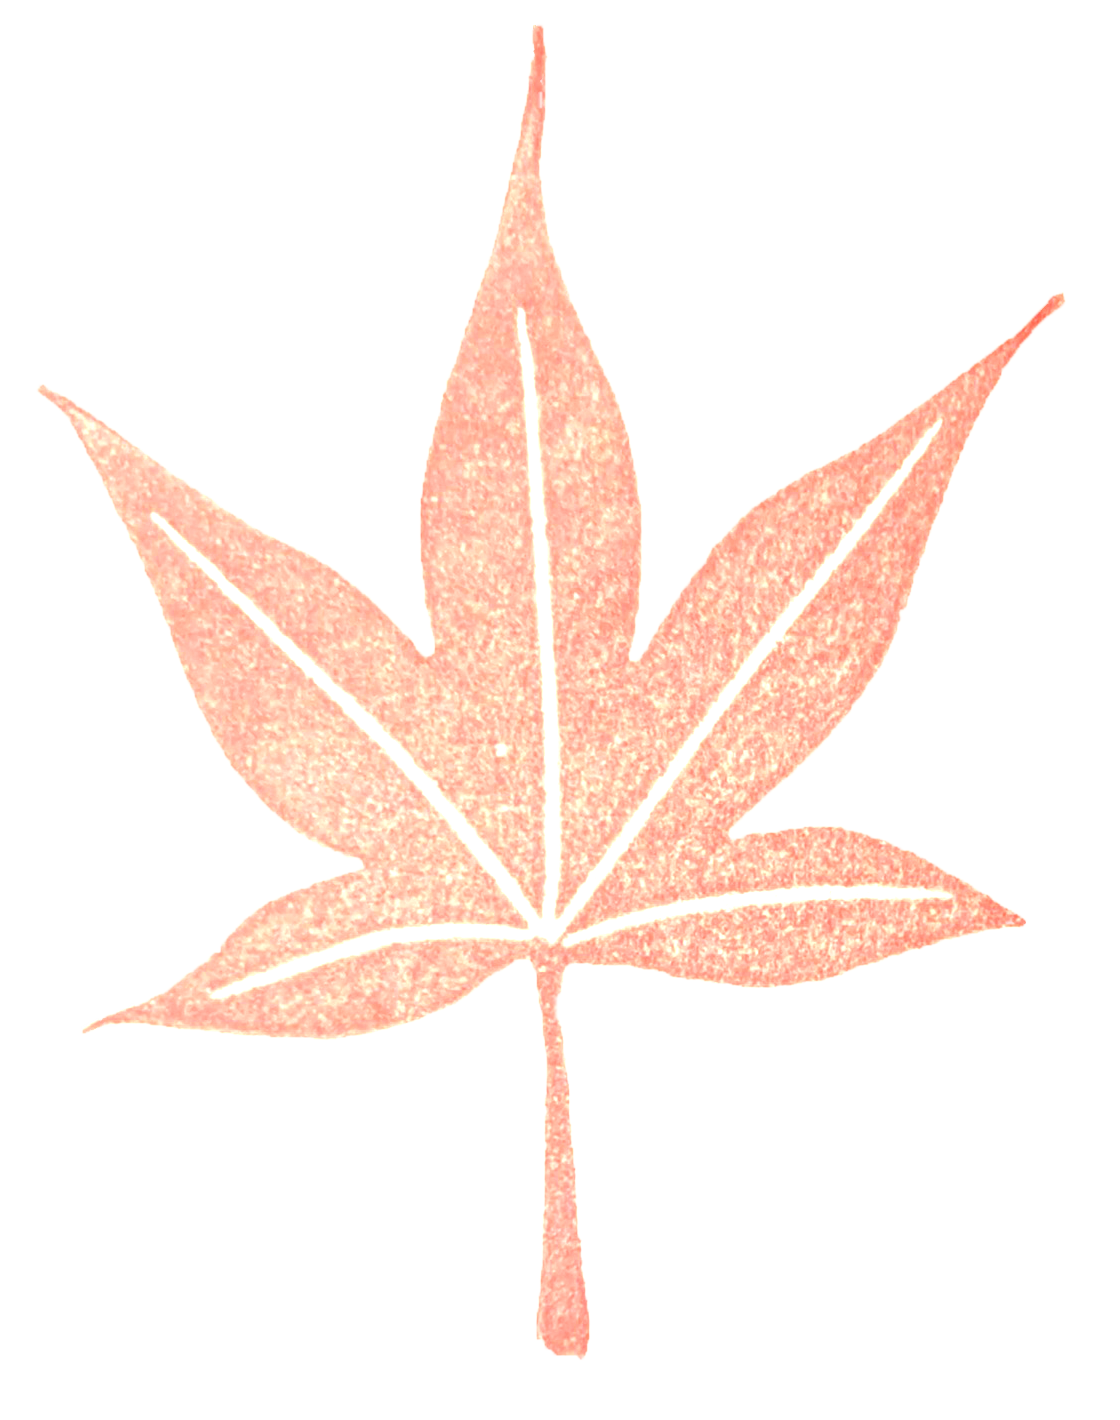
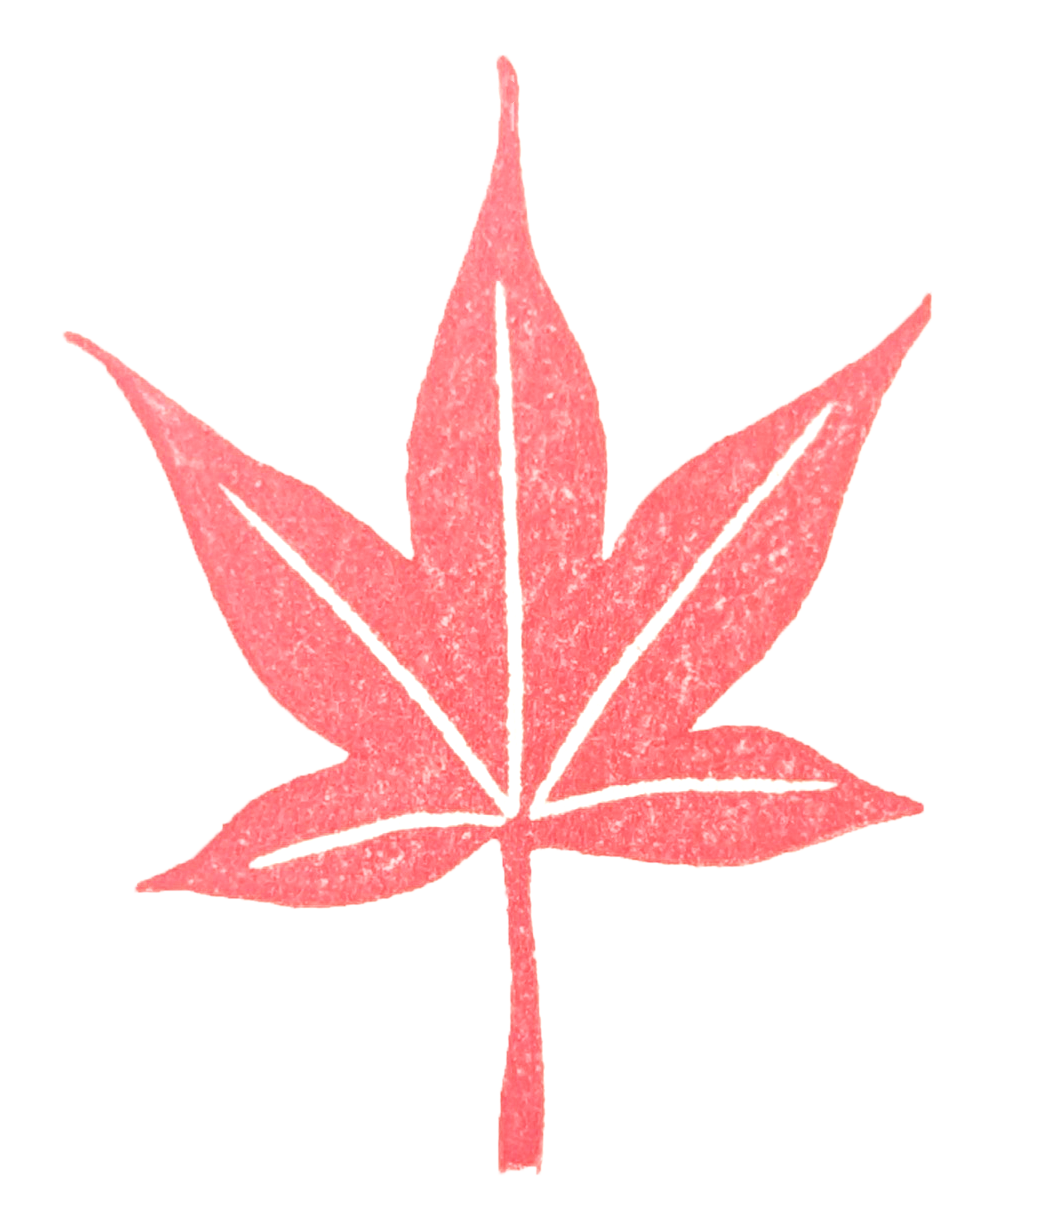
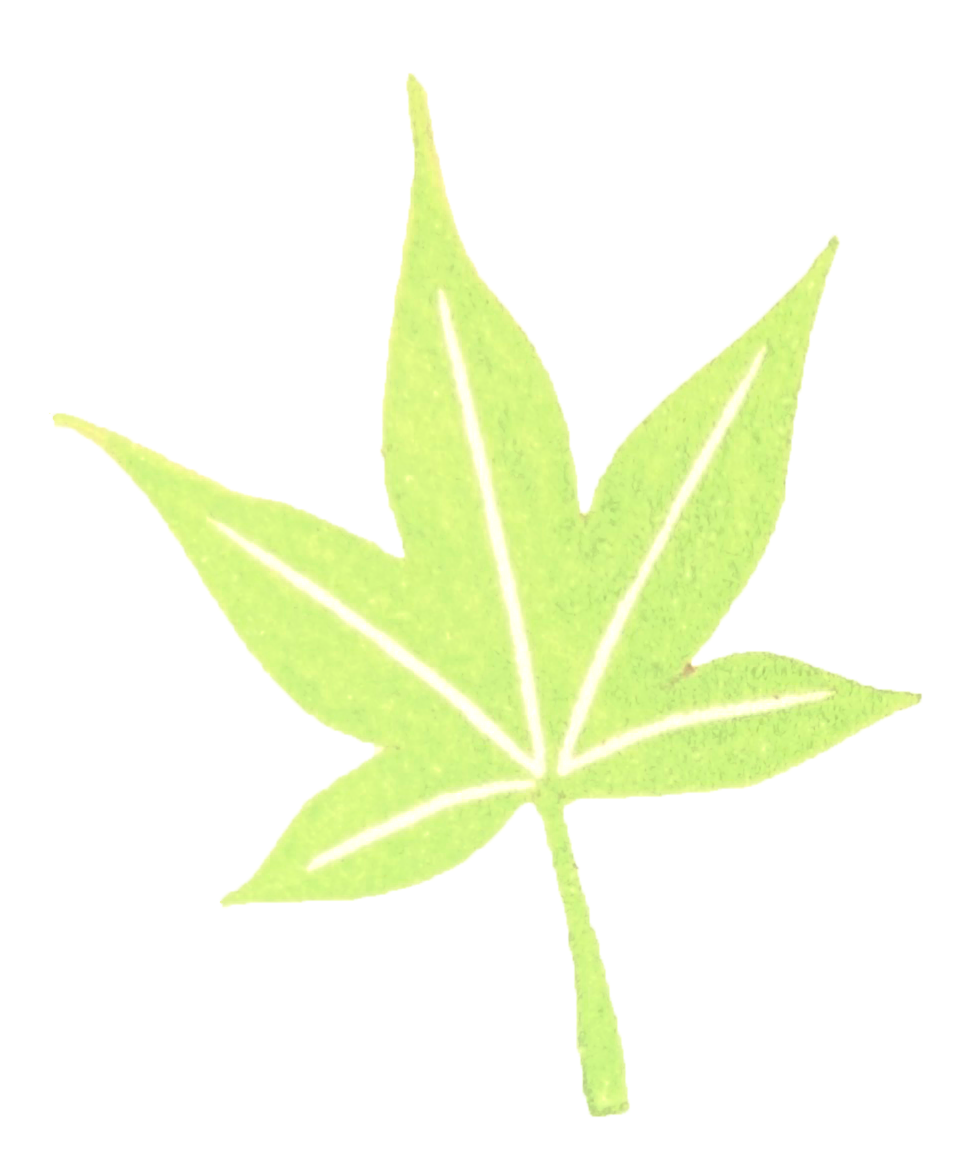
Press the stamp straight down onto the sticky note. Reds and oranges are lovely for the lanterns; yellow-green and gold can make the leaves feel as though the season is slowly changing.
Cut around each shape
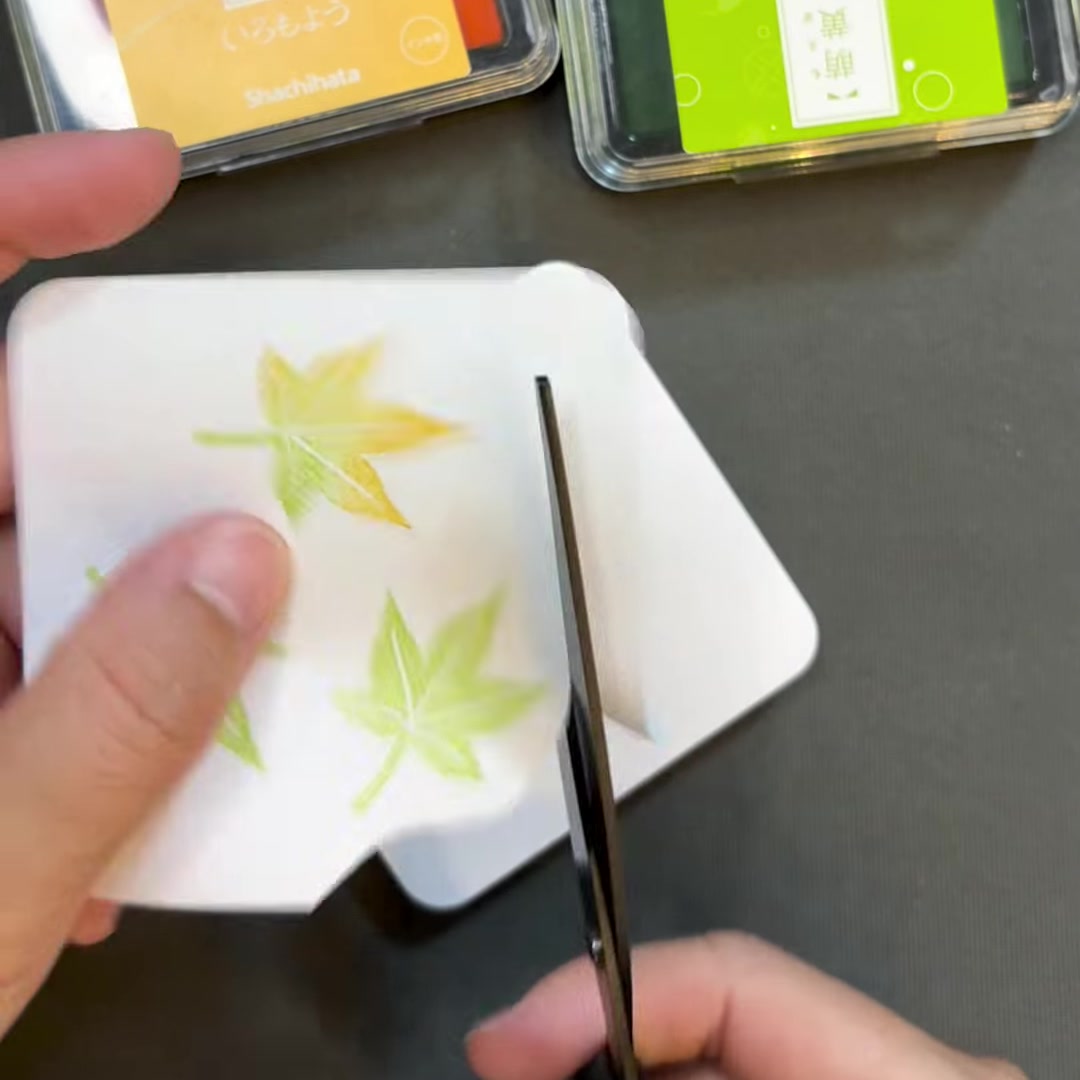
Let the ink dry, then cut around each motif. A slim white border is easier to cut than the exact outline and gives the finished sticker a gentle, handmade look.
Arrange before you stick
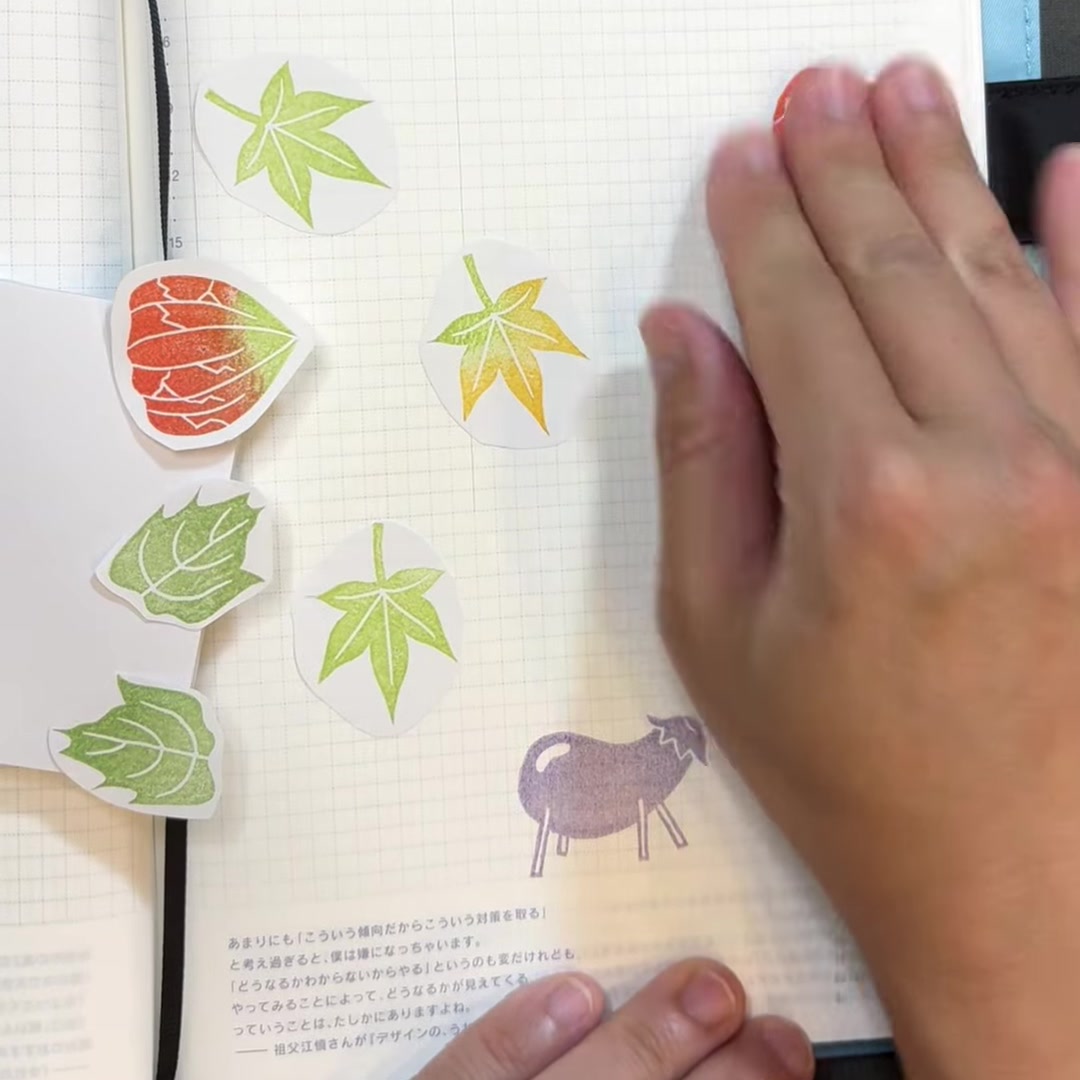
Move the pieces around your planner page like a little puzzle. Once the balance feels right, press them into place. Because they began as sticky notes, they are easier to reposition than a design stamped directly onto the page.
One stamped impression and a little cutting can turn a blank page into a small place to notice the season. It is also a forgiving way to enjoy stamps if stamping directly into a favourite planner makes you nervous.
Shopping
Tools used in this project
Only purchase links that offer international shipping are listed here. Availability can vary by colour and destination, so please check the shop page before ordering.
- Iromoyou Warabe ink pads (25 × 25 mm)29 colours; a small, easy size for trying one colour at a time.Amazon Japan →
- Iromoyou ink pads (63 × 40 mm)34 traditional Japanese colours; international availability differs by colour.Amazon Japan →
More notes on inks and international availability are in the Tools & Care guide.
Like the stamps used in this project? You can find the set below, with international checkout available through an official proxy service.
Related
You may also enjoy
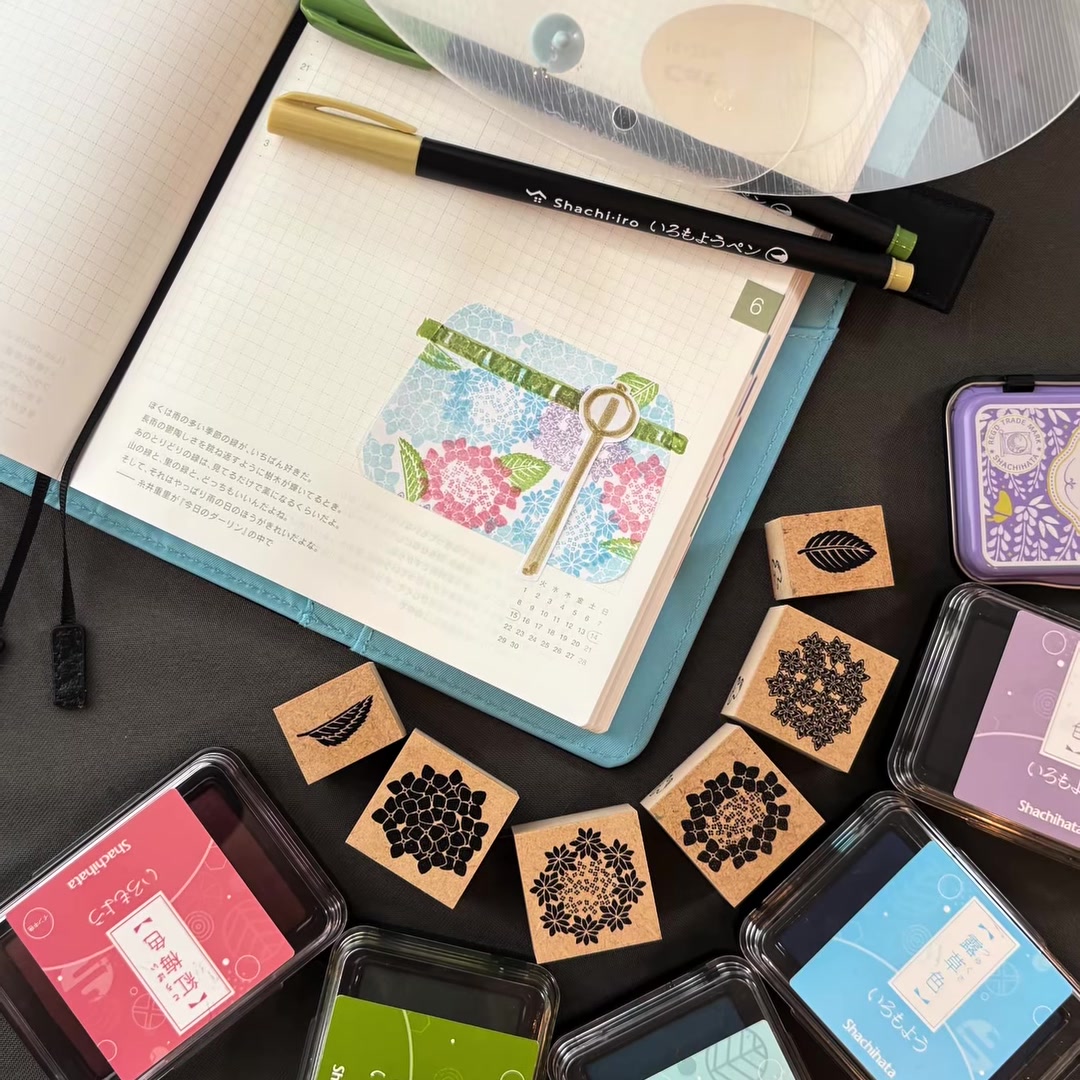
Make a Tiny Hydrangea Hanachozu in Your Planner
Stamp colourful hydrangeas and leaves onto a full-adhesive sticky note, trim the scene, then add bamboo lines and a tiny ladle to make a rainy-season hanachozu in your planner.
Read the tutorial →
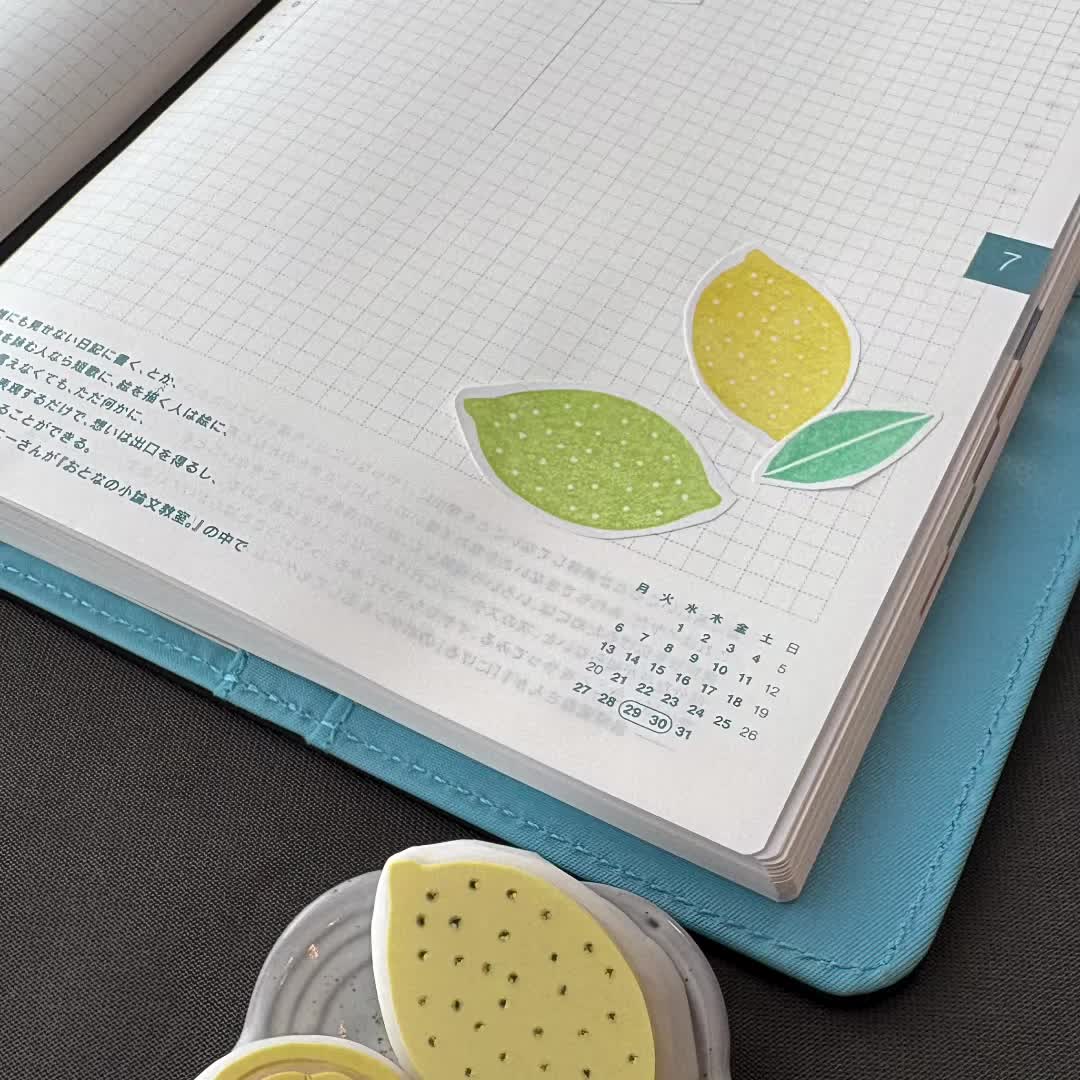
Make Lemon & Lime Planner Stickers with Sticky Notes
Stamp lemons, lime slices and leaves onto full-adhesive sticky notes, cut them out and turn them into bright summer planner stickers.
Read the tutorial →
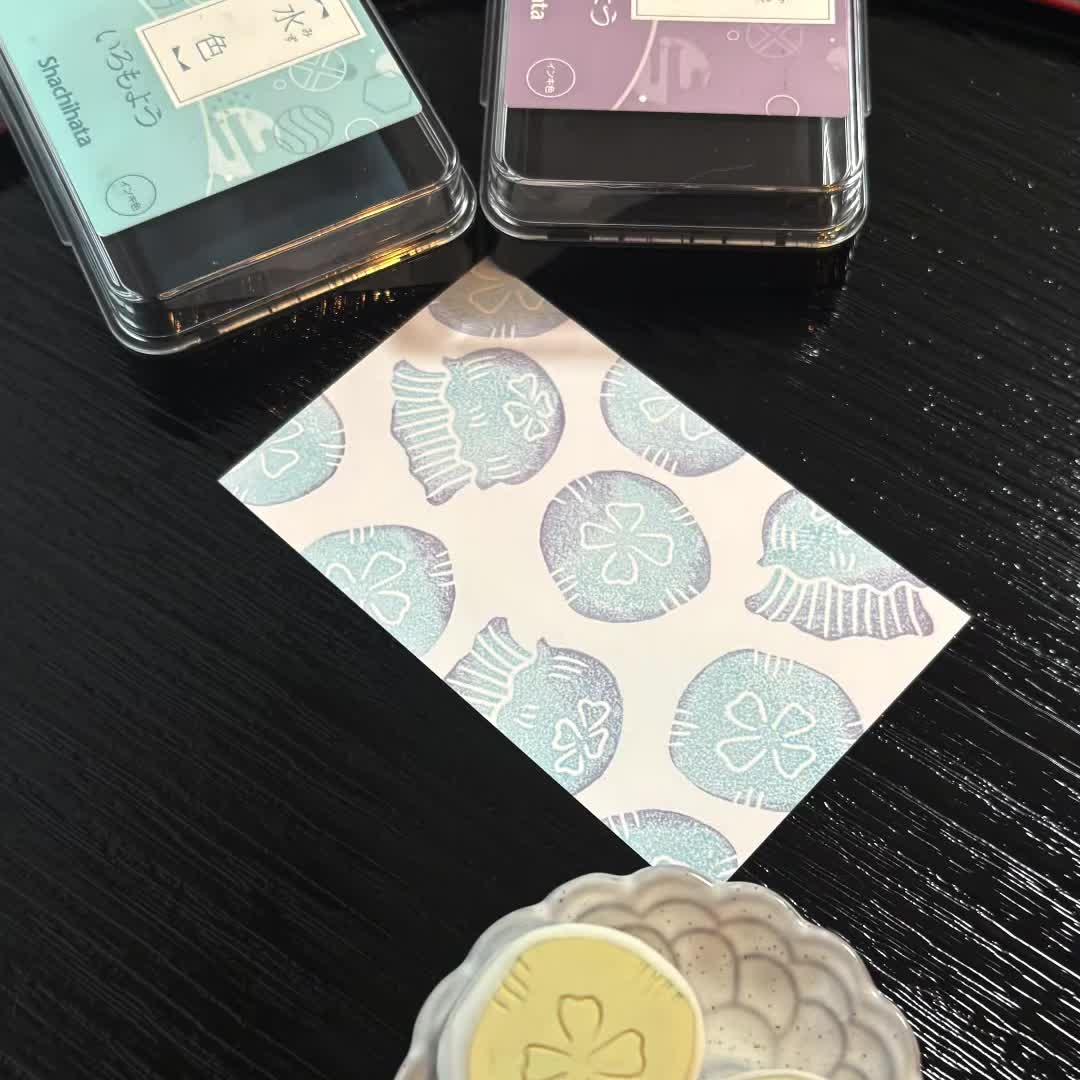
How to Stamp a Soft Two-Colour Moon Jellyfish Gradient
Layer pale blue and wisteria-purple Iromoyou inks on a moon jellyfish stamp for a cool, translucent gradient, then arrange it across a small card.
Read the tutorial →
Follow the everyday carving and stamping process on Instagram.